Billy or Kallax?
The age old question for any gamer when deciding how to store an ever growing boardgame collection. Seriously, you start with a couple of games and then suddenly, like rabbits, they multiply and you have a 300+ collection!
So we started out with the Ivar system, and let us tell you – STAY AWAY! That stuff is cheap for a reason! Save your sanity and don’t get this. In fact it was not long before Mike broke out the tape measure to figure out what would fit in the games room when we had the Ivar shelf’s. They warped and twisted under the weight of all the games, then started to damage the boxes as they did not fit properly. 🙁
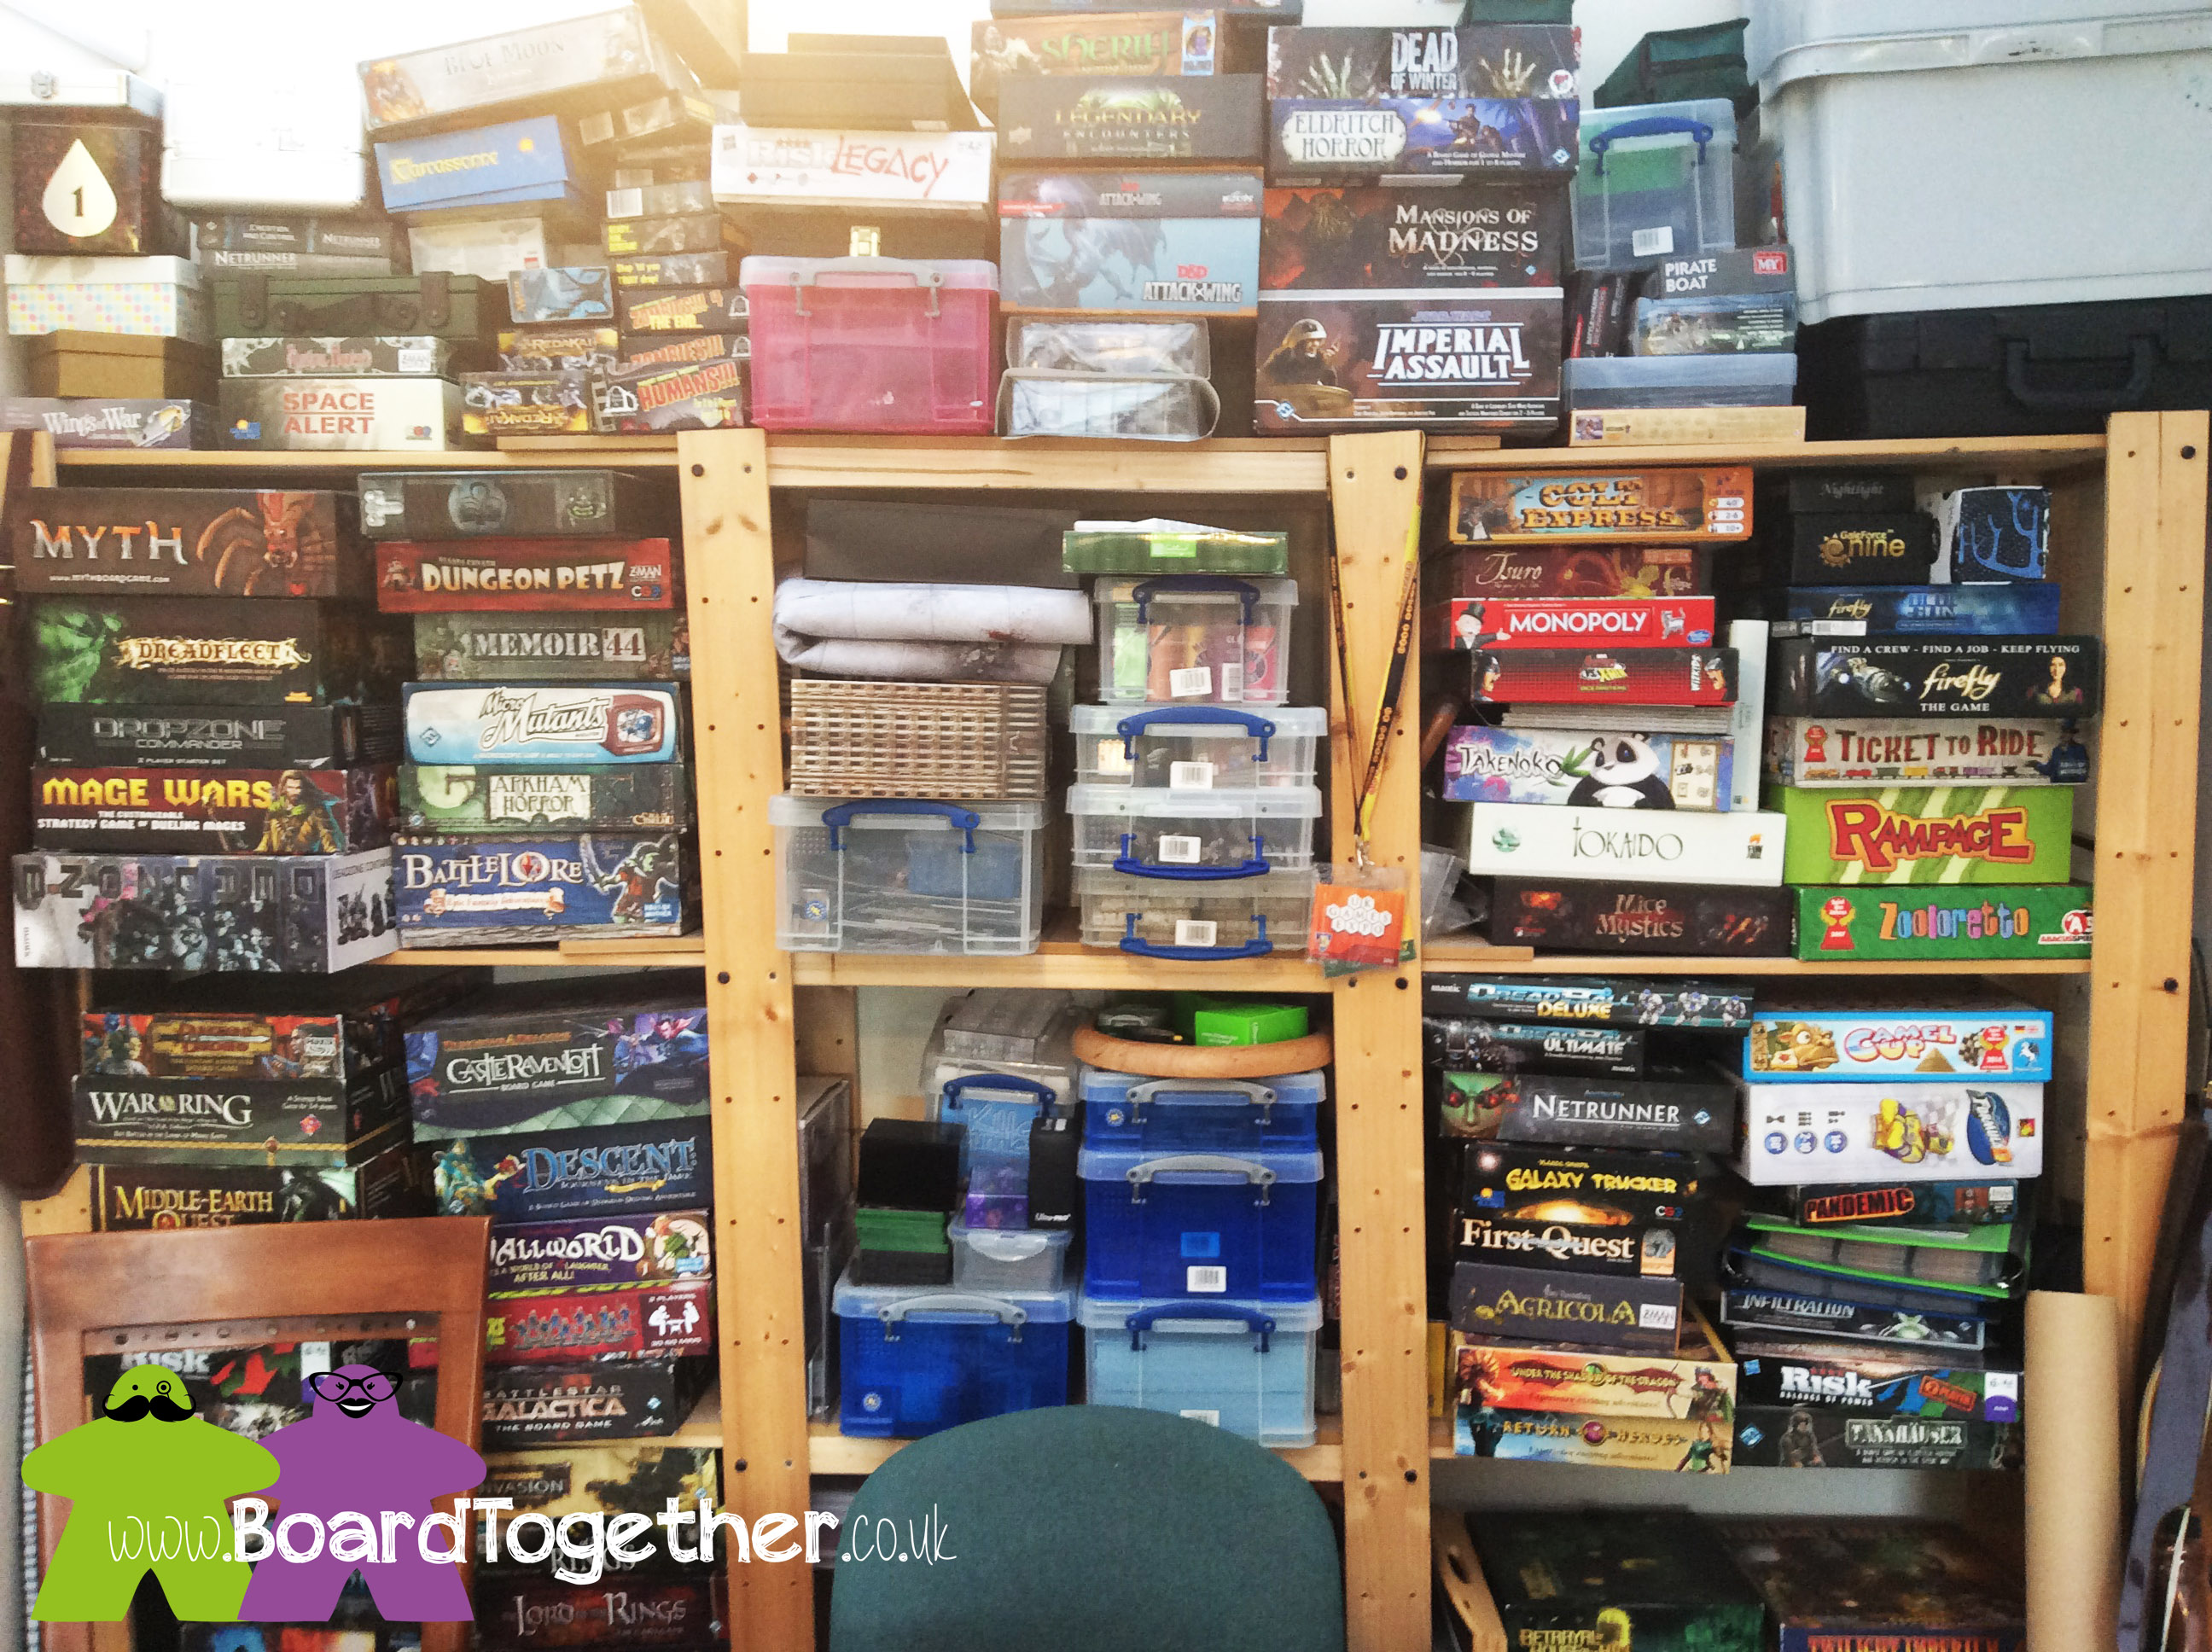
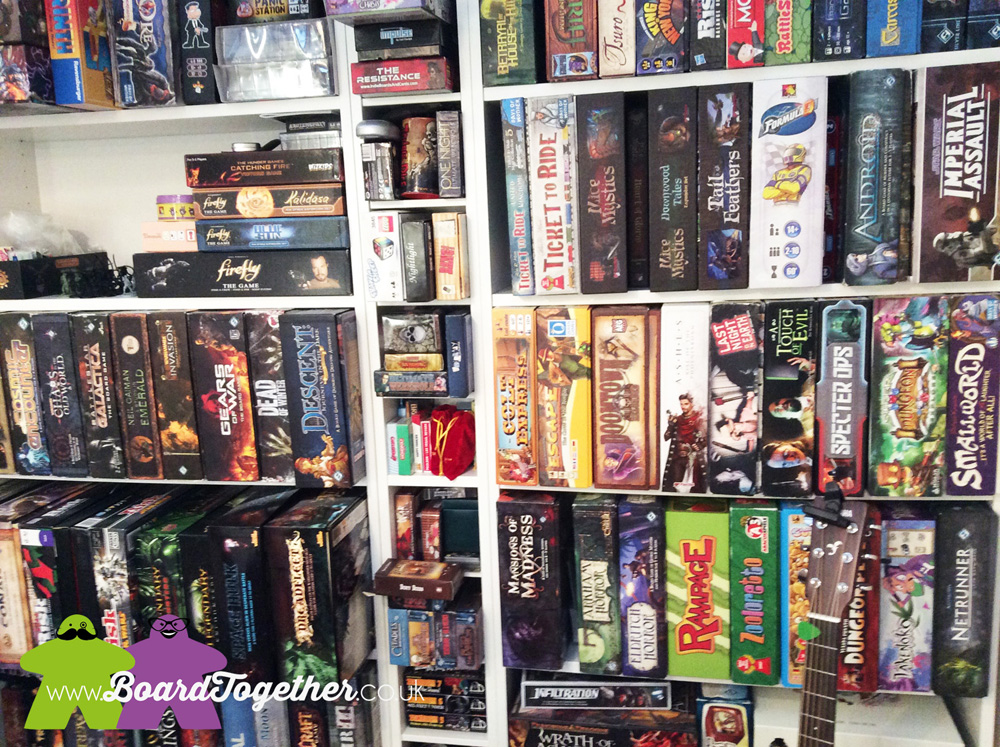
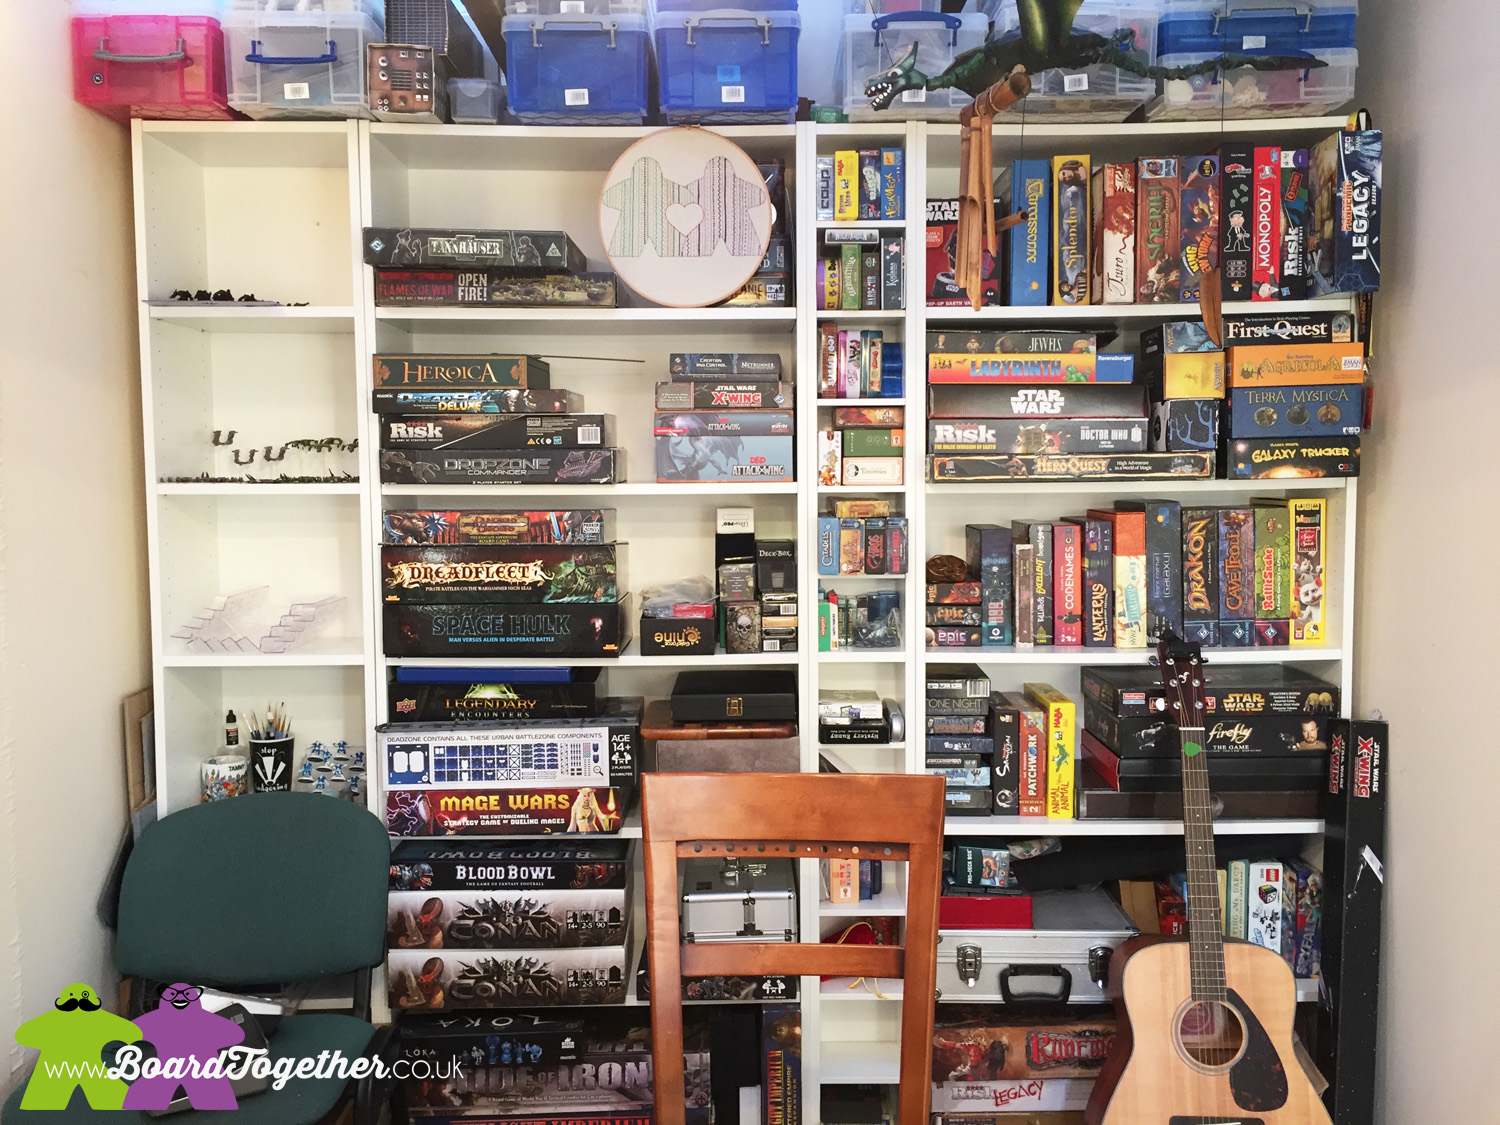
So our next choice was the Billy system. Easy enough to mix and match to fit everything we needed and shallow enough not to be imposing in the games room. Some people complain that the shelf’s bow, we noticed this could be fixed buy wedging more games underneath! Lol
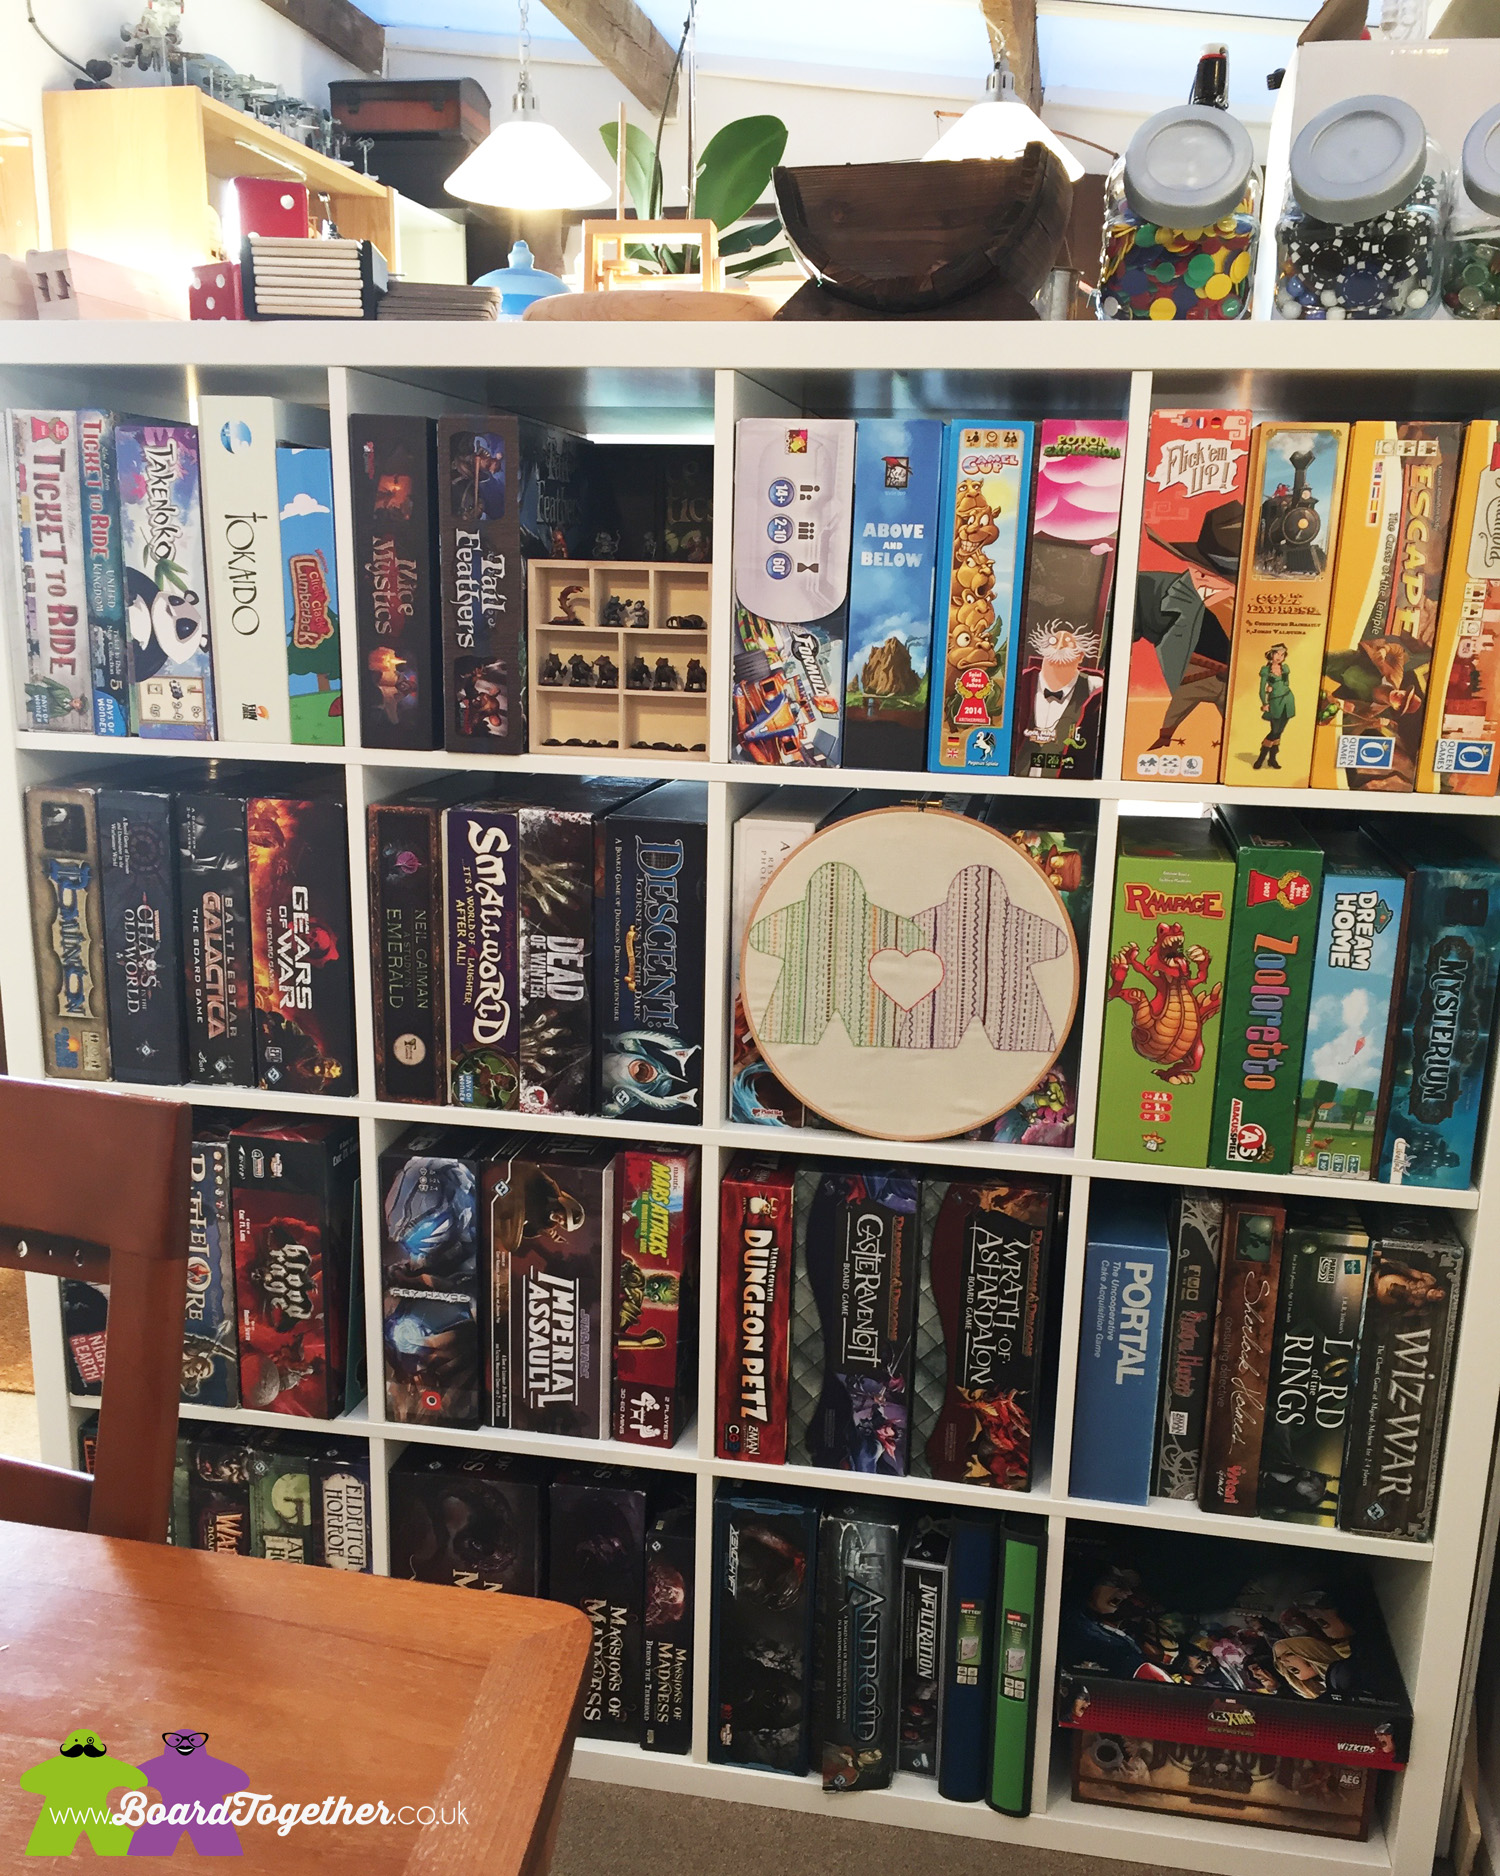
Eventually though, our collection has out grown the Billy system. Out with the tape measure again! Our games room also doubles up as Mike’s office, so we had two little bookcases back to back separating the rooms. It kept everything open and airy. Not any more though, there is a distinct difference between the rooms now. Say hello to our Kallax system!!!
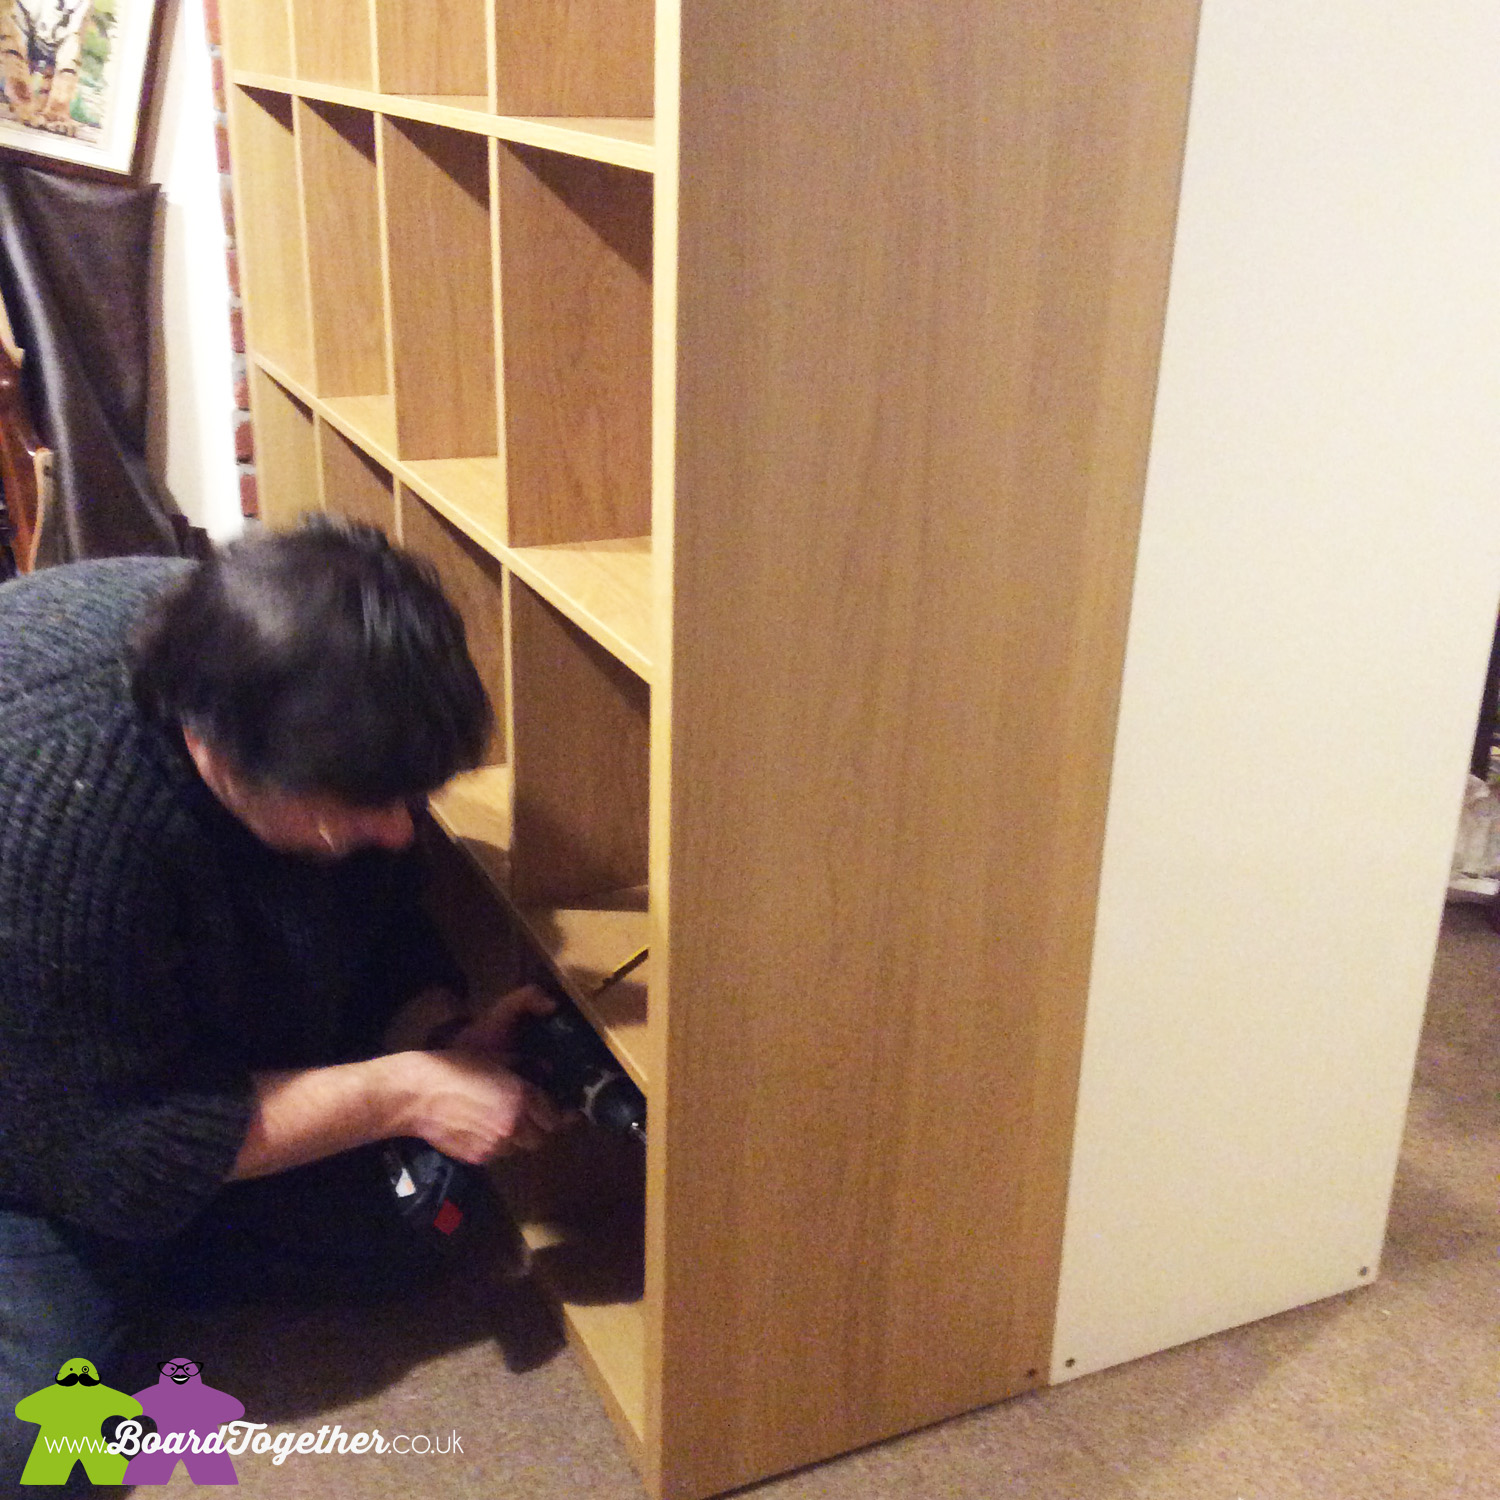
Mike and I popped off to Ikea, filled up my Ford Fusion and then spent a lovely evening assembling flat packed furniture! #funtimes
We only had one hiccup. Mike used a lump of wood and a hammer to really knock the pieces together. He was happily tapping away when I heard a bang. Looked round to see a sheepish Mike, he had hammered a perfect hole in the side of the oak kallax!! O_o Ah well, that side is up against the wall, no one will ever see!
We are pleased with the results, we can now display our lovely painted miniatures – until we need the space for more games! Everything in the Kallax looks neat and tidy, just need to work on the Billy bookcases now. . .
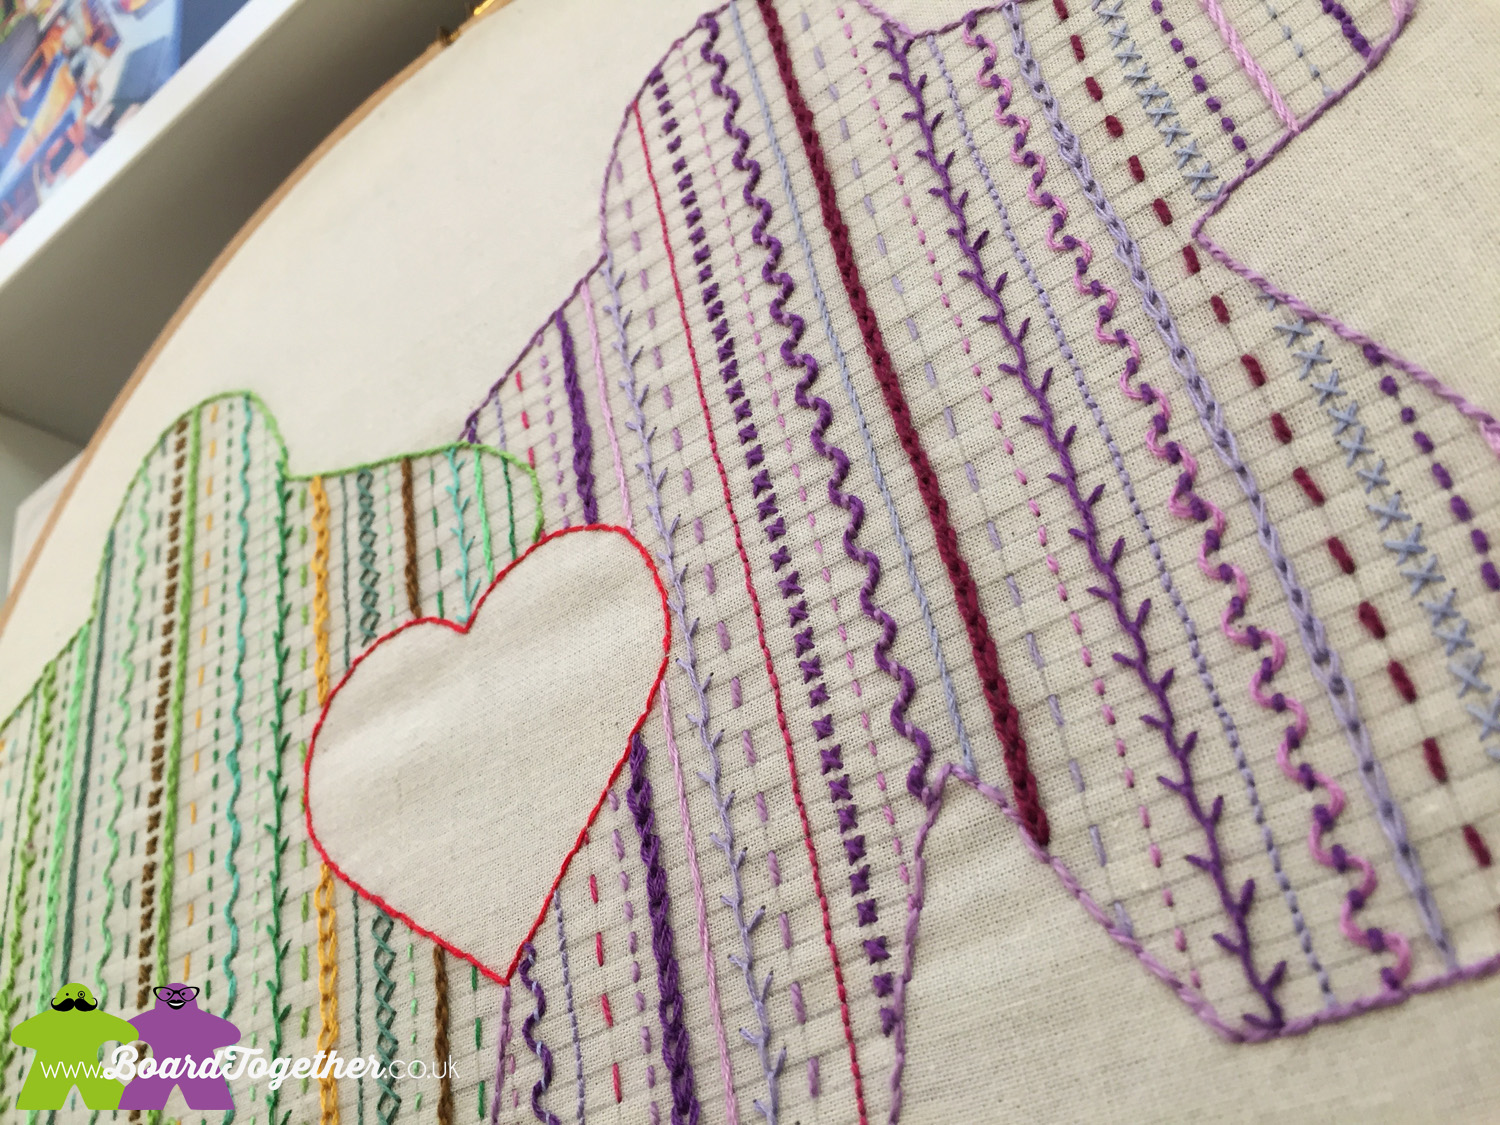
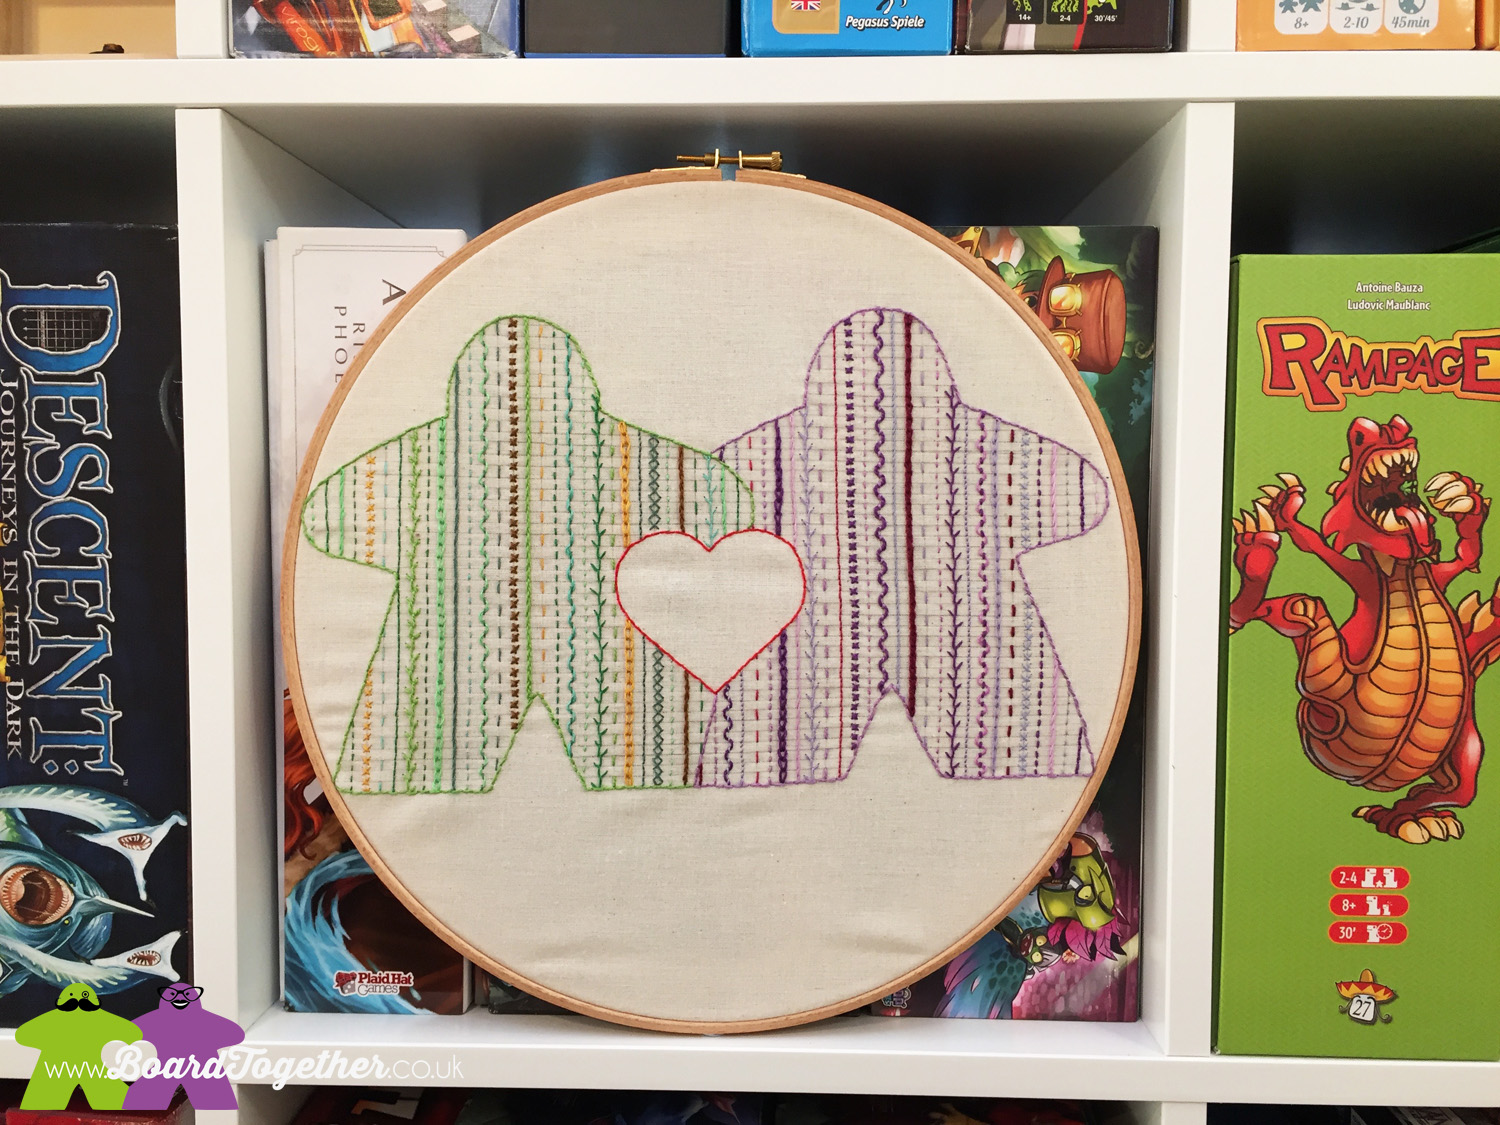
Once all this had been sorted I figured it was time to add another item of decoration to the room. So I made a stitched sampler of our logo and mounted it in an embroidery hoop.
As you can see I used pencil to draw out a grid. For some reason straight stitched lines and myself do not get on, so I needed something a bit drastic to keep me on track. If you wanted to do something similar I recommend tailors chalk instead, far easier to remove once done. I found Pinterest is a great place to look for different stitch tutorials, especially for beginners.
How do you decorate your games room? Let us know in the comments below or share pictures with us on social media. We would love to see them.

Be First to Comment