I do not get on well with those custom GM screens. I know they are popular with Drive thru RPG users because you print out the GM inserts, put them in the plastic pockets and away you go…
Unless you are British and using A4 paper instead of the US letter. Then the sheets do not fit and you find yourself trying to cutting them to size, dry fitting and then cutting more. After spending some time on the internet you realise there is nothing available in the A4 size. So I decided that I wanted to make myself something that I could be proud of and would look great in my gaming room.
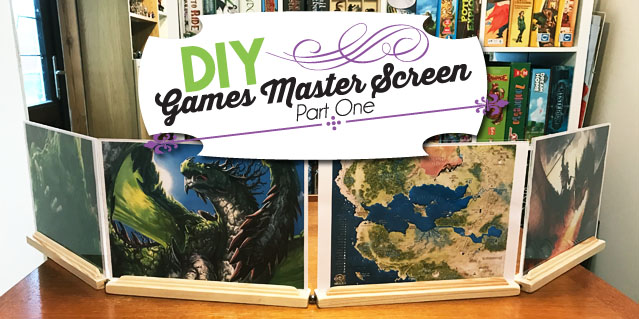
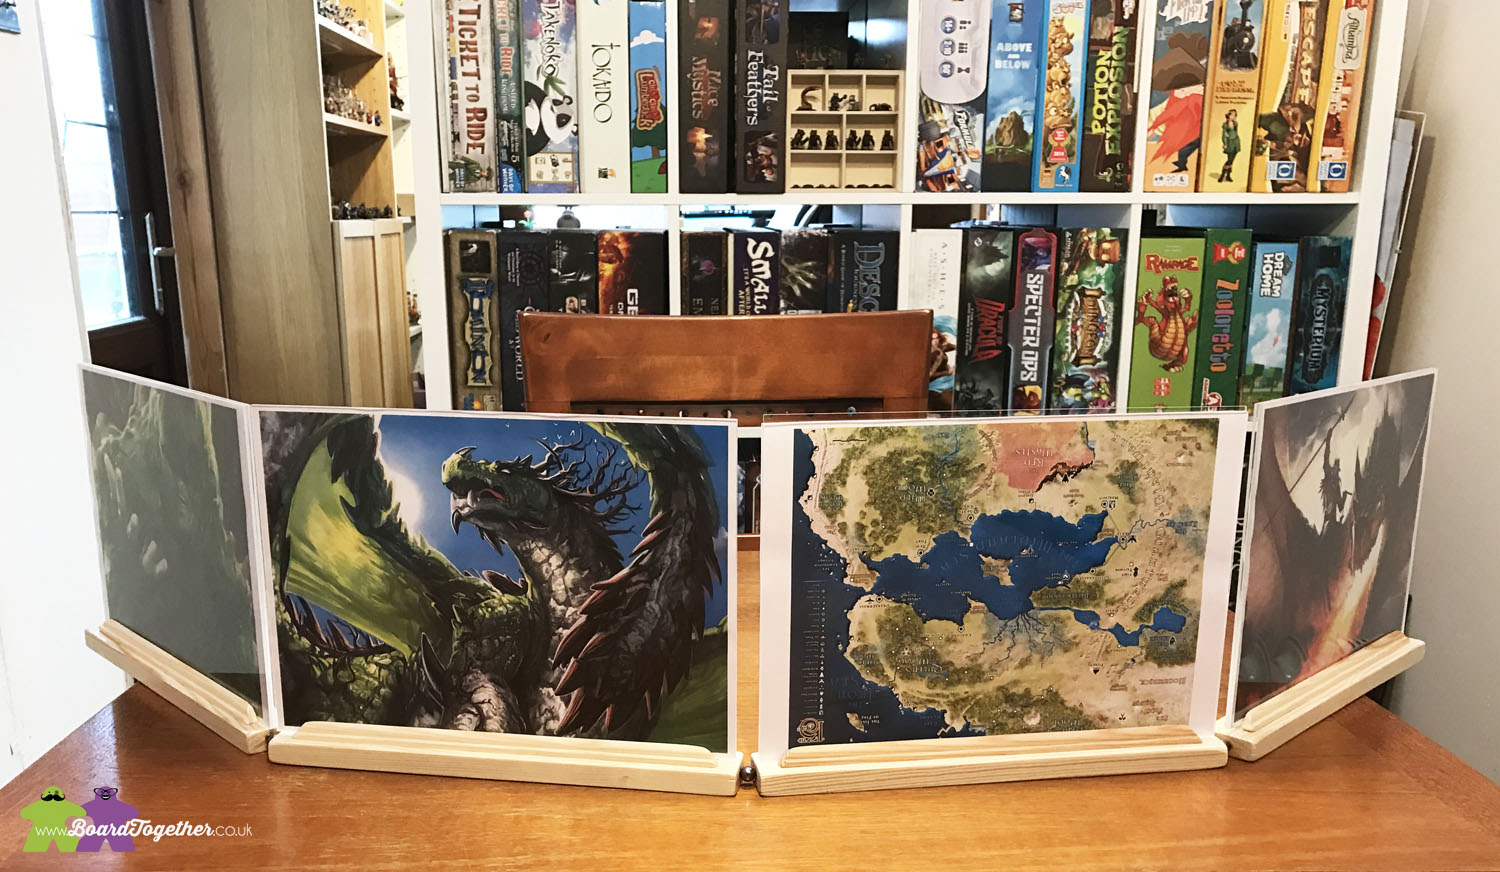
DIY GM Screen
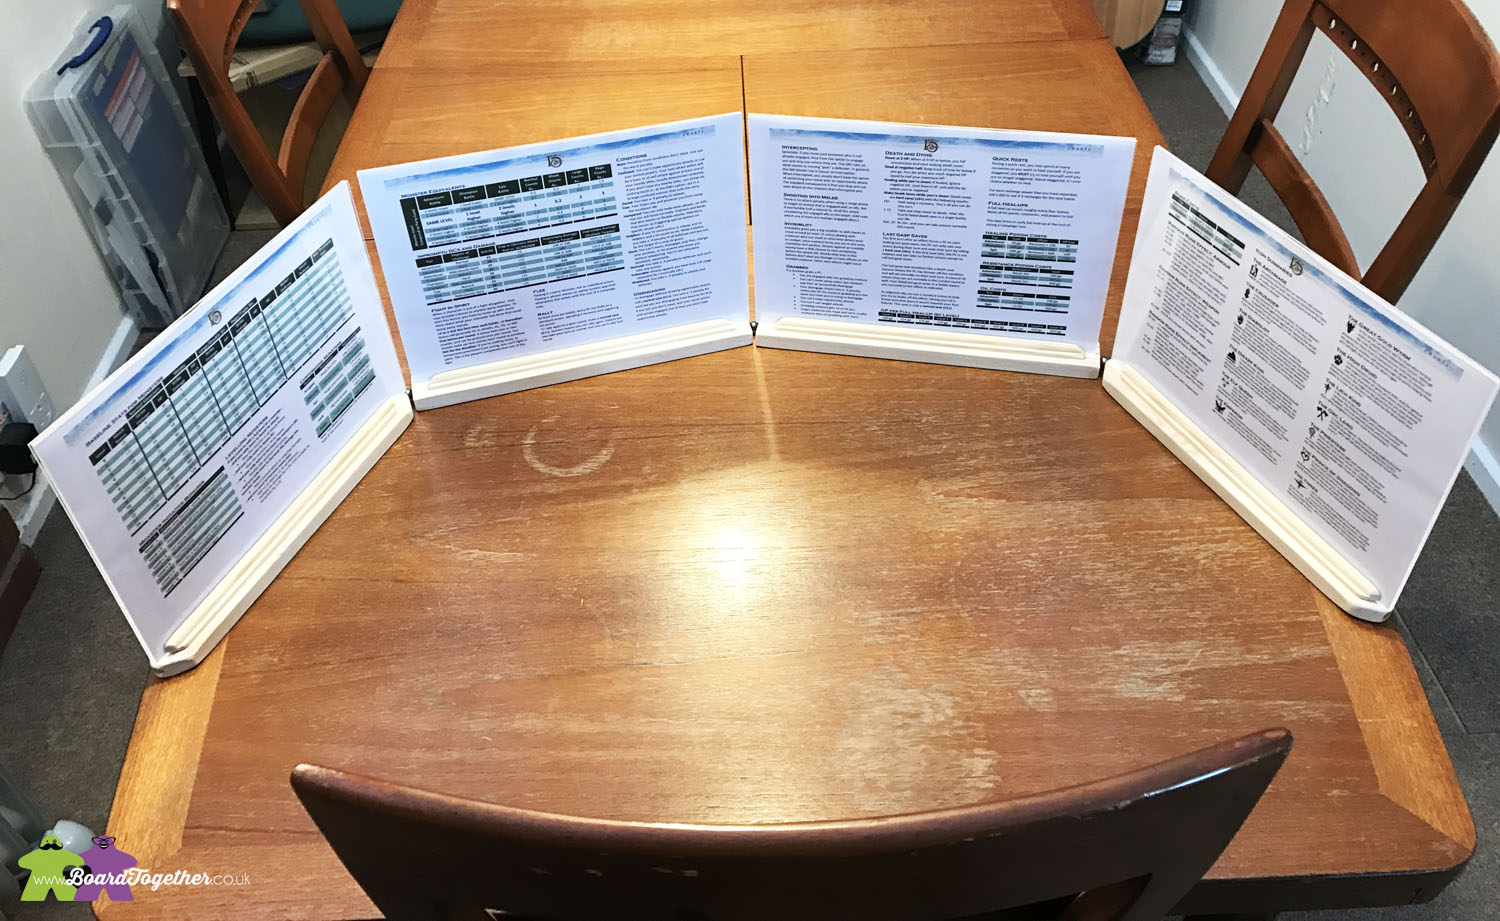
So, let’s do this. The first thing I did was purchase 8 A4 sized acrylic sheets from the hobbyist online friend, eBay. These 8 I will make a 4 panel GM screen, a sheet for the front and back, but it can be expanded when needed. To join the panels together you will need some Rare Earth magnets and ball bearings for the flexible joints. These are relatively inexpensive and easy to find online.
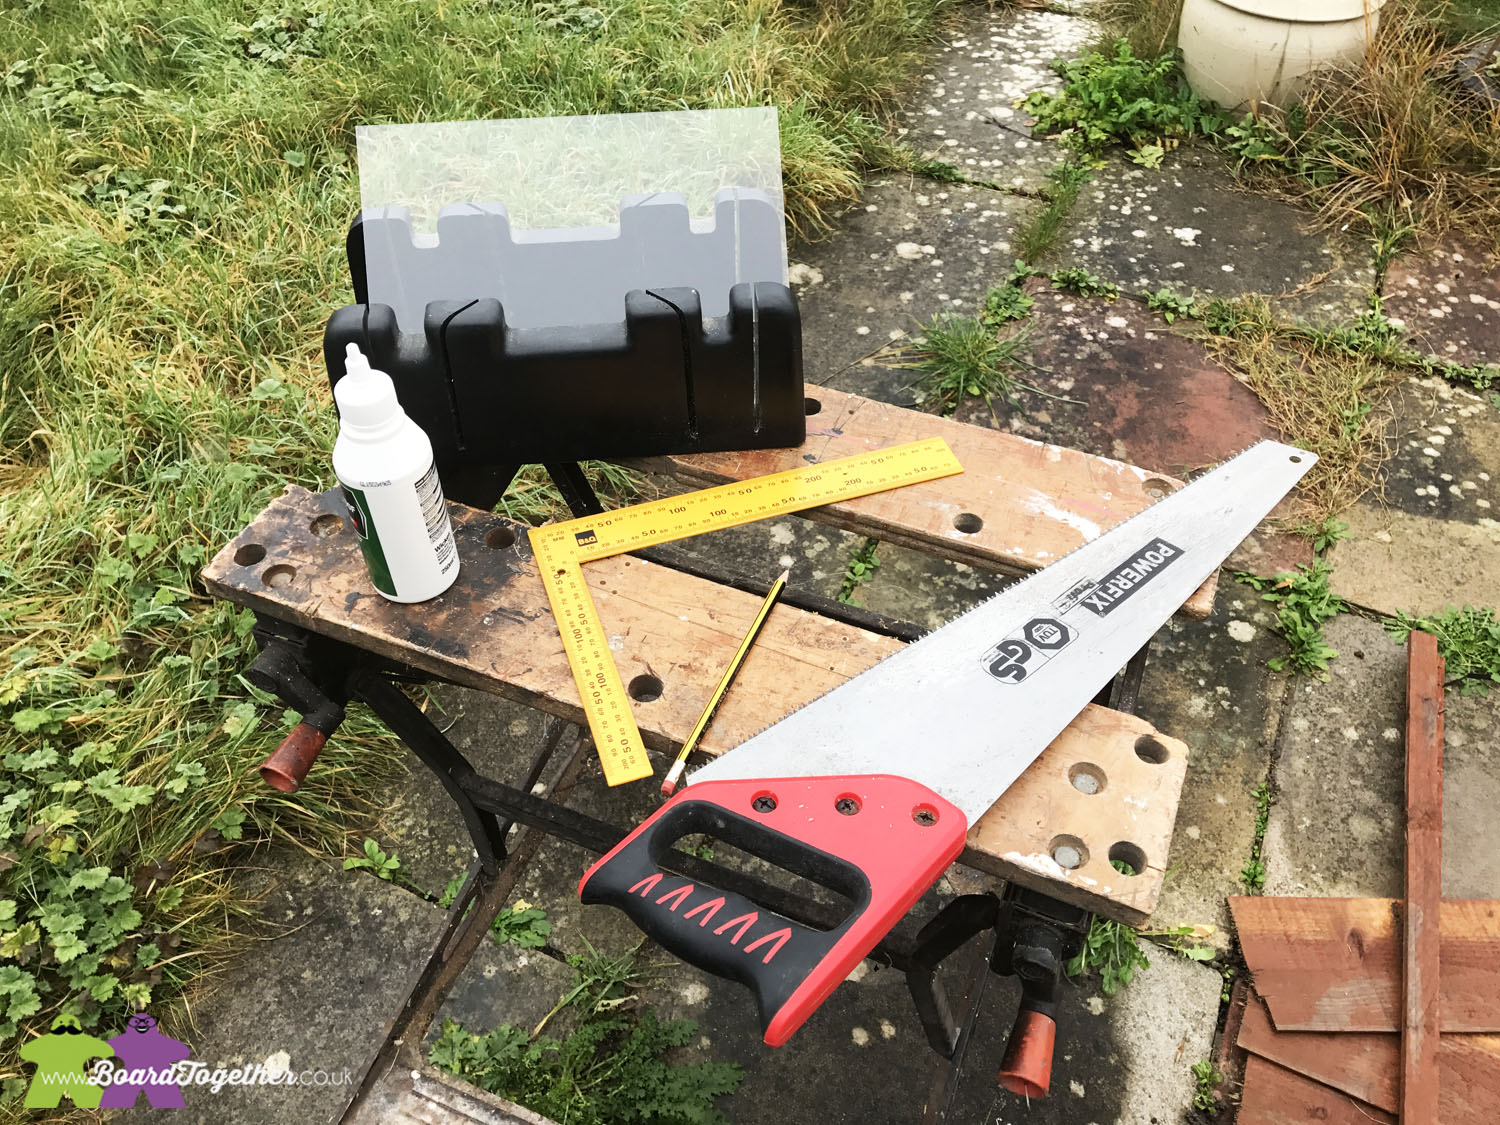
Tools you are going to need for this, as follows:
- Saw for cutting the wood to size
- Mitre saw or a saw guide for cutting angles. A band saw will probably work just as well.
- Set square to make sure the cuts are at right angles
- Wood Glue for sticking it together
- Pencil for marking cuts etc.
- Drill for making recesses in the wood for the magnets. The bit should make a hole just big enough for the magnets to sit inside.
- Wood the size you want for the base of each panel.
- Decorative trim to hold the panes in place
- Lolly pop sticks
a
Making the base for the panels
The wood for the base should be wide enough to hold the panel up and have enough weight to stop it from falling over.
The wood I used was the following size: 1.5 CM X 3.5 CM X 1.8 M
I brought a couple of these as I wanted to test the design as I went along. To make a 4 panel you will need two planks.
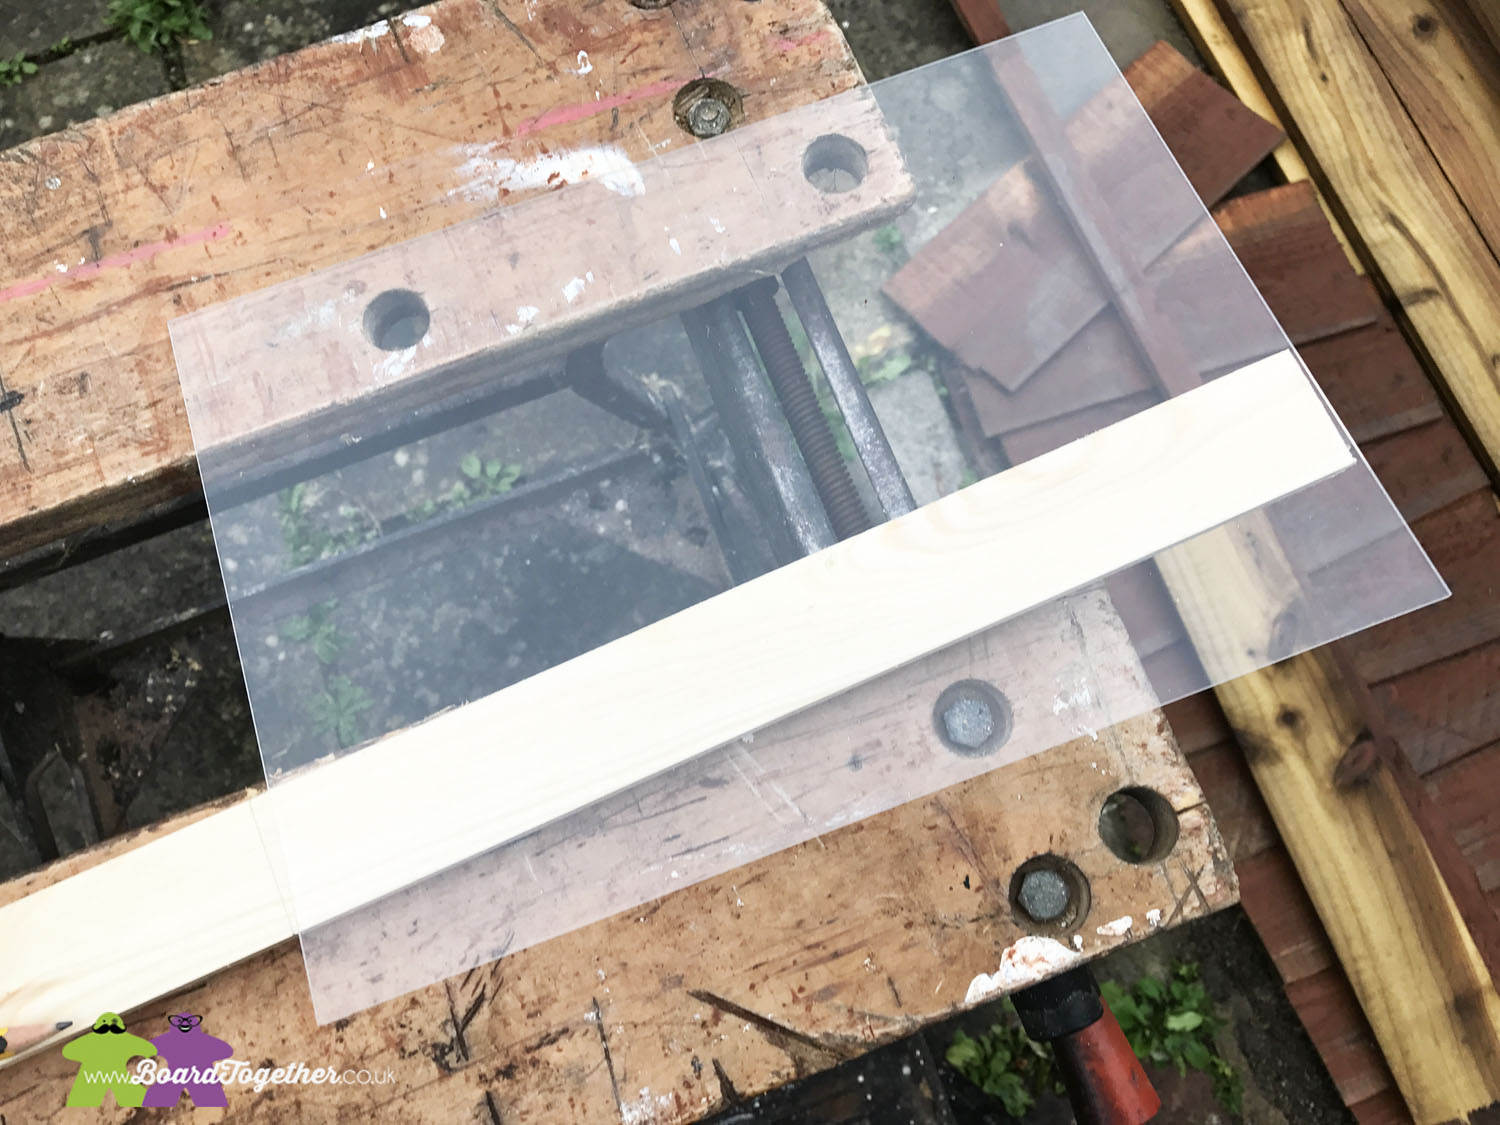
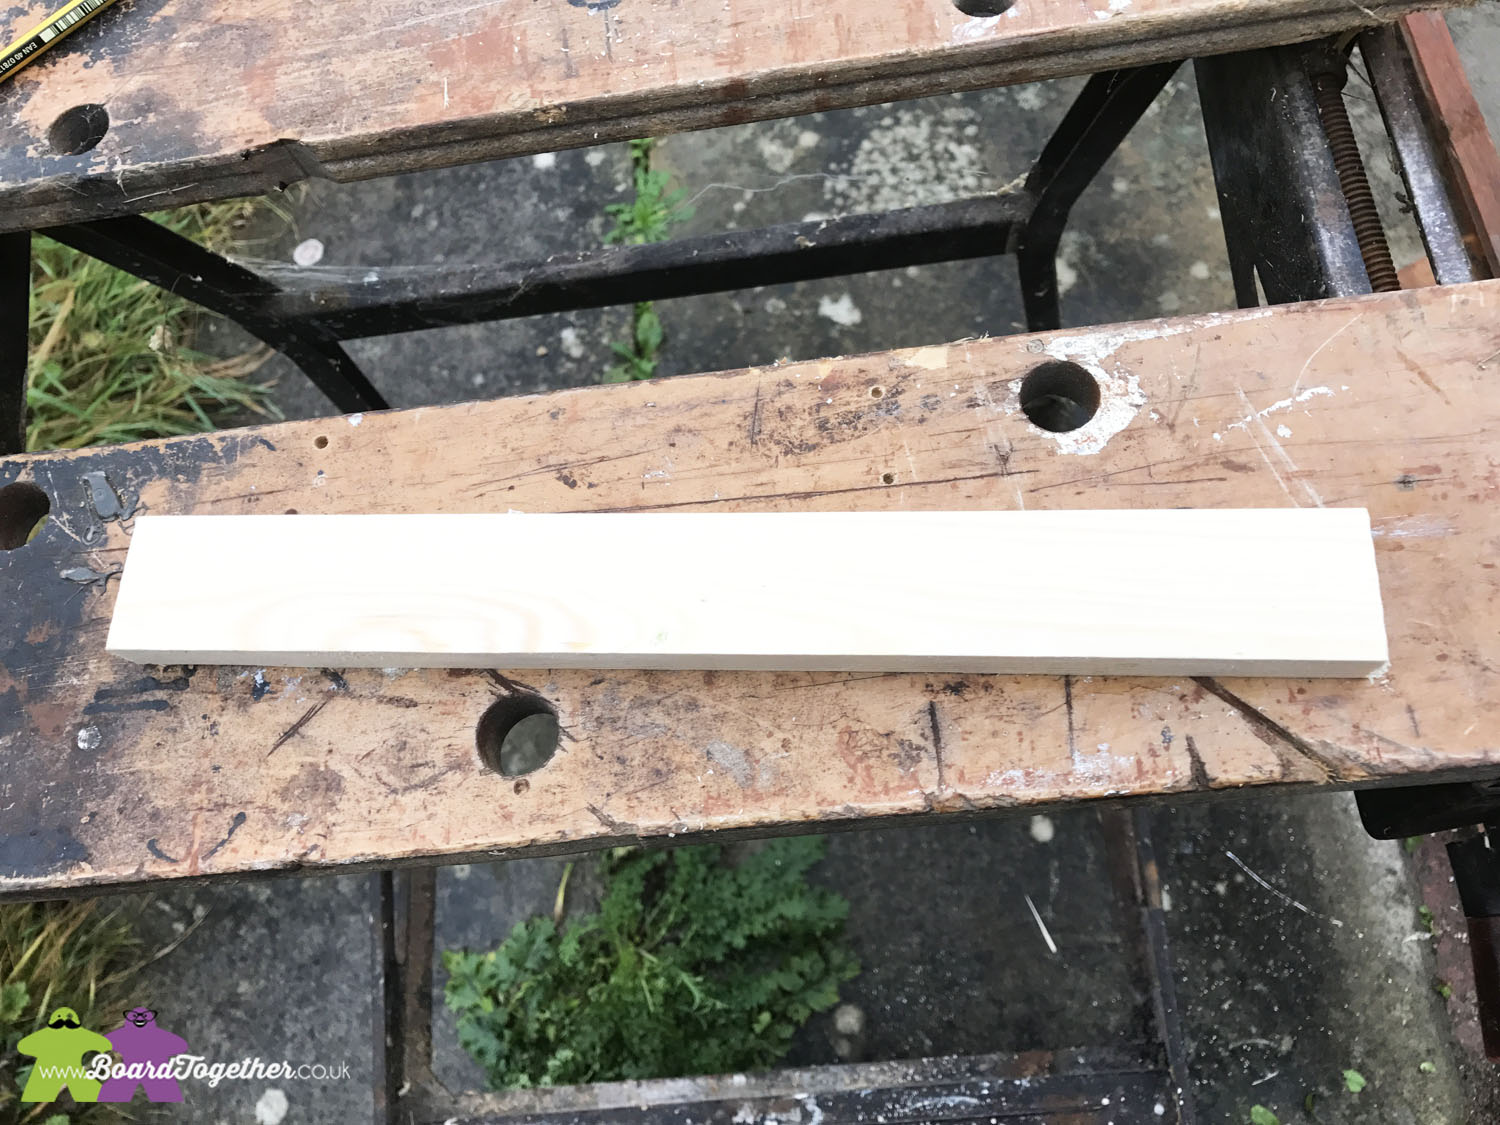
Place the Acrylic screen on top of the wood and mark a cutting line. You want this the same length as the Acrylic sheet so when they are put close together there isn’t much of a gap. It is a screen after all.
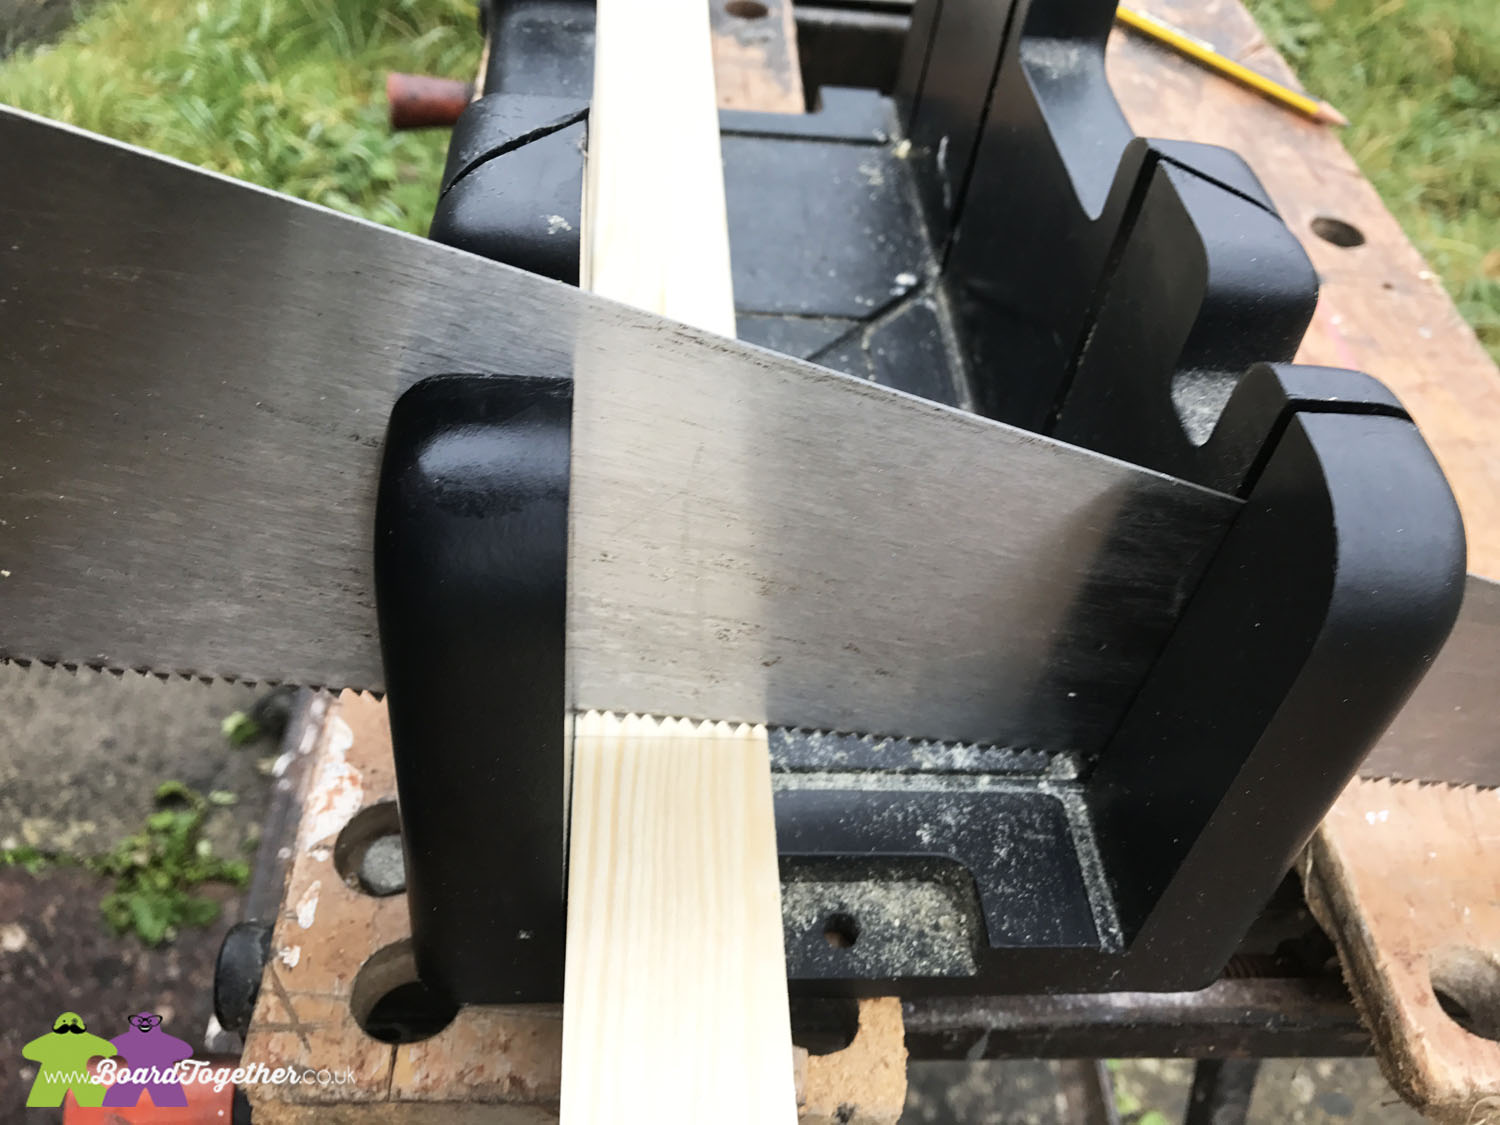
Now cut a 90 degree angle along the mark. You will need as many of these as panels you are planning to make. I suggest you make a few more just in case any break, or you decide you want more panels later. You have all the tools out already…
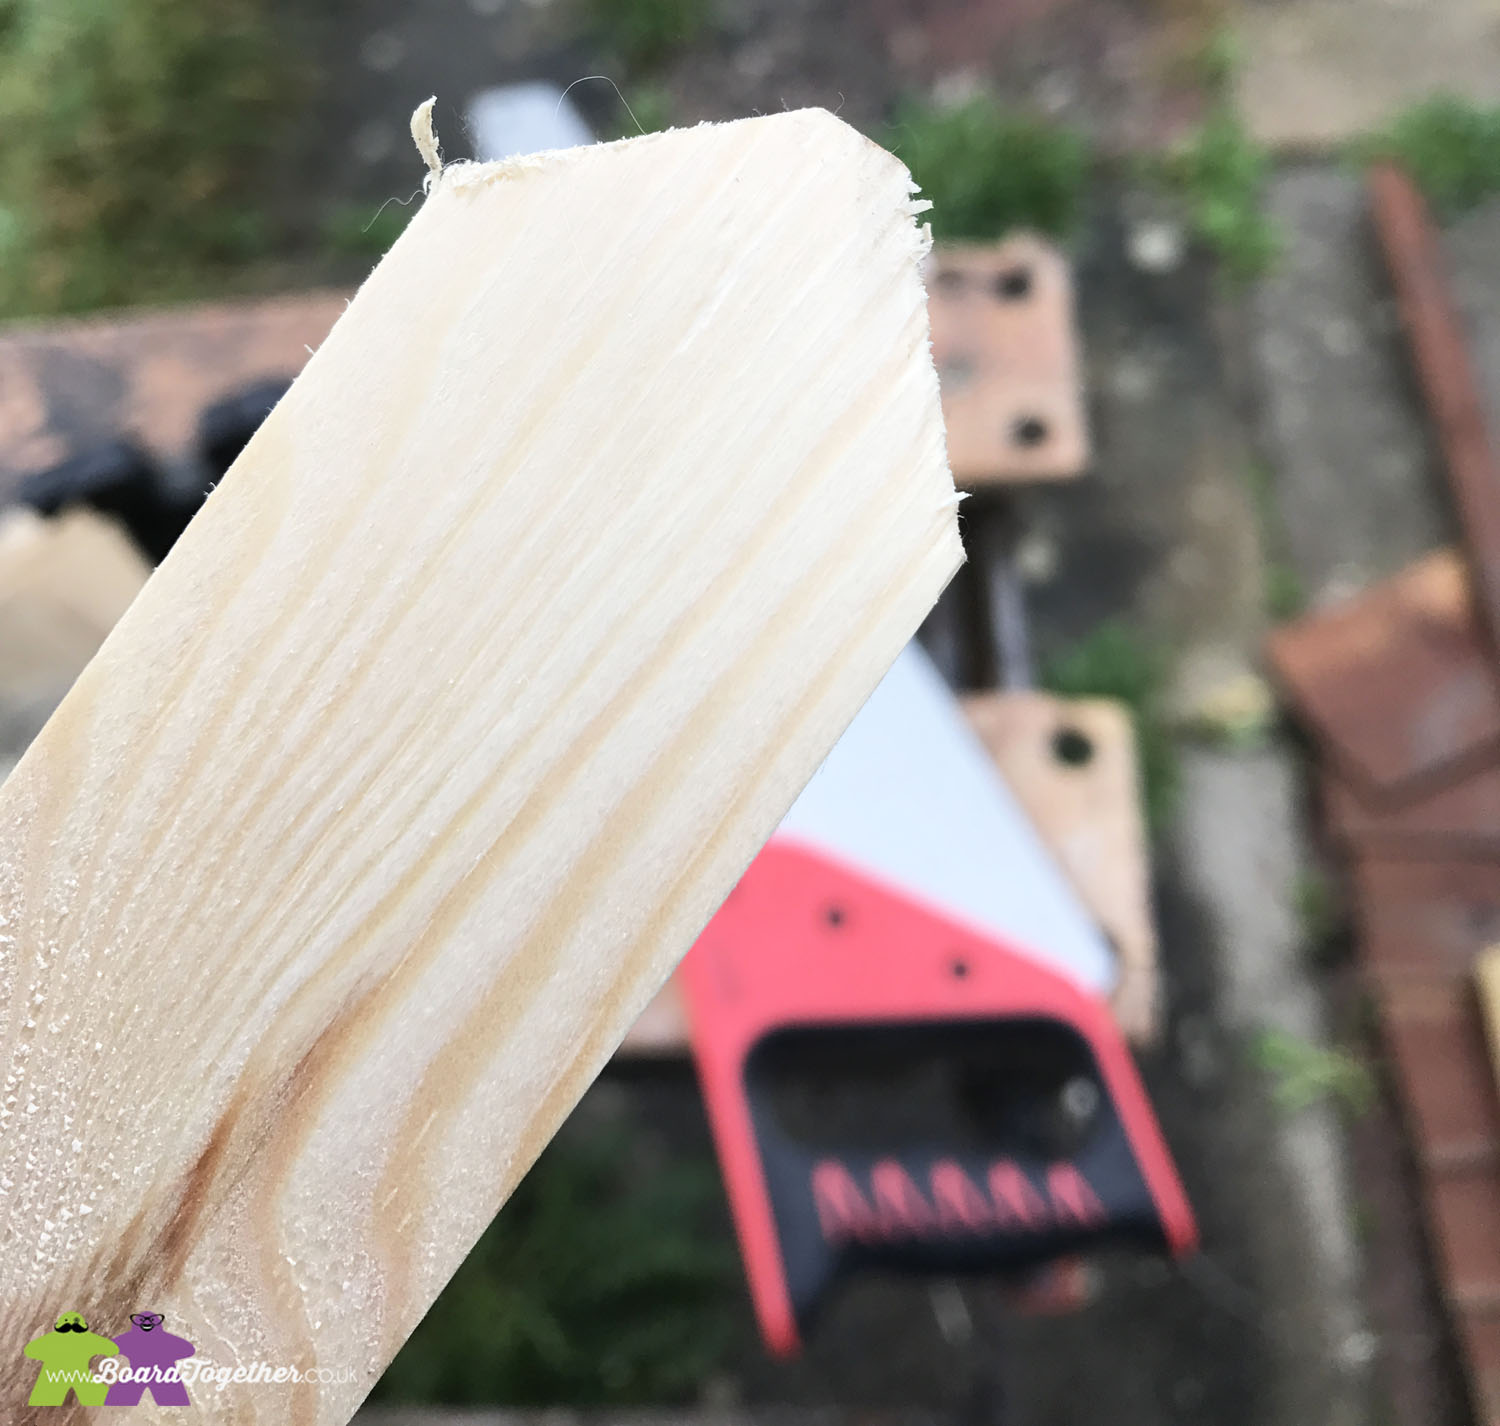
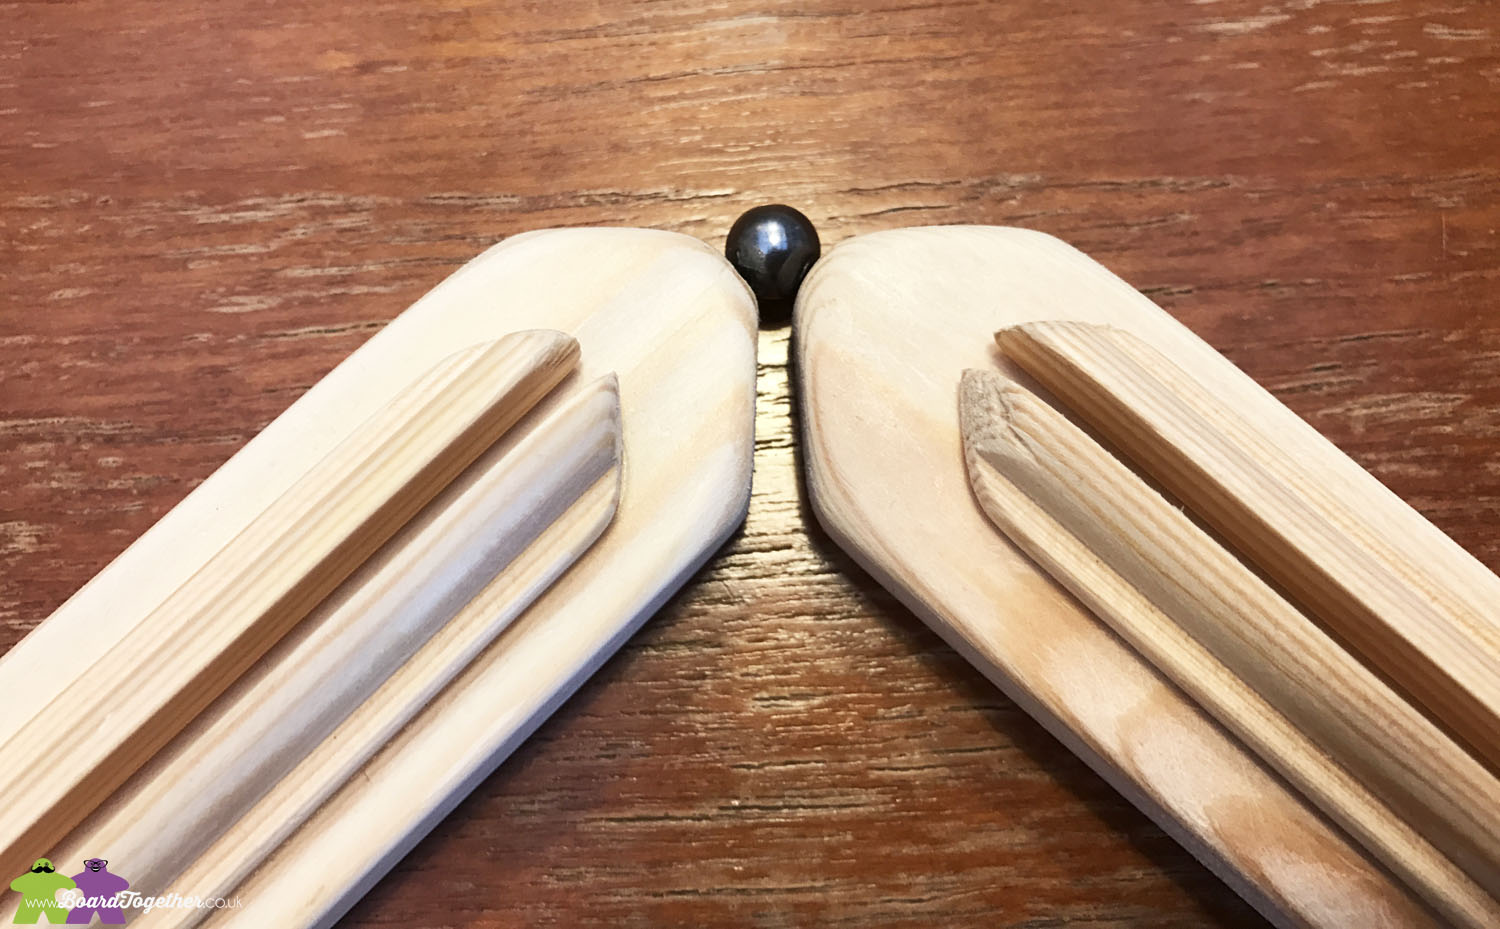
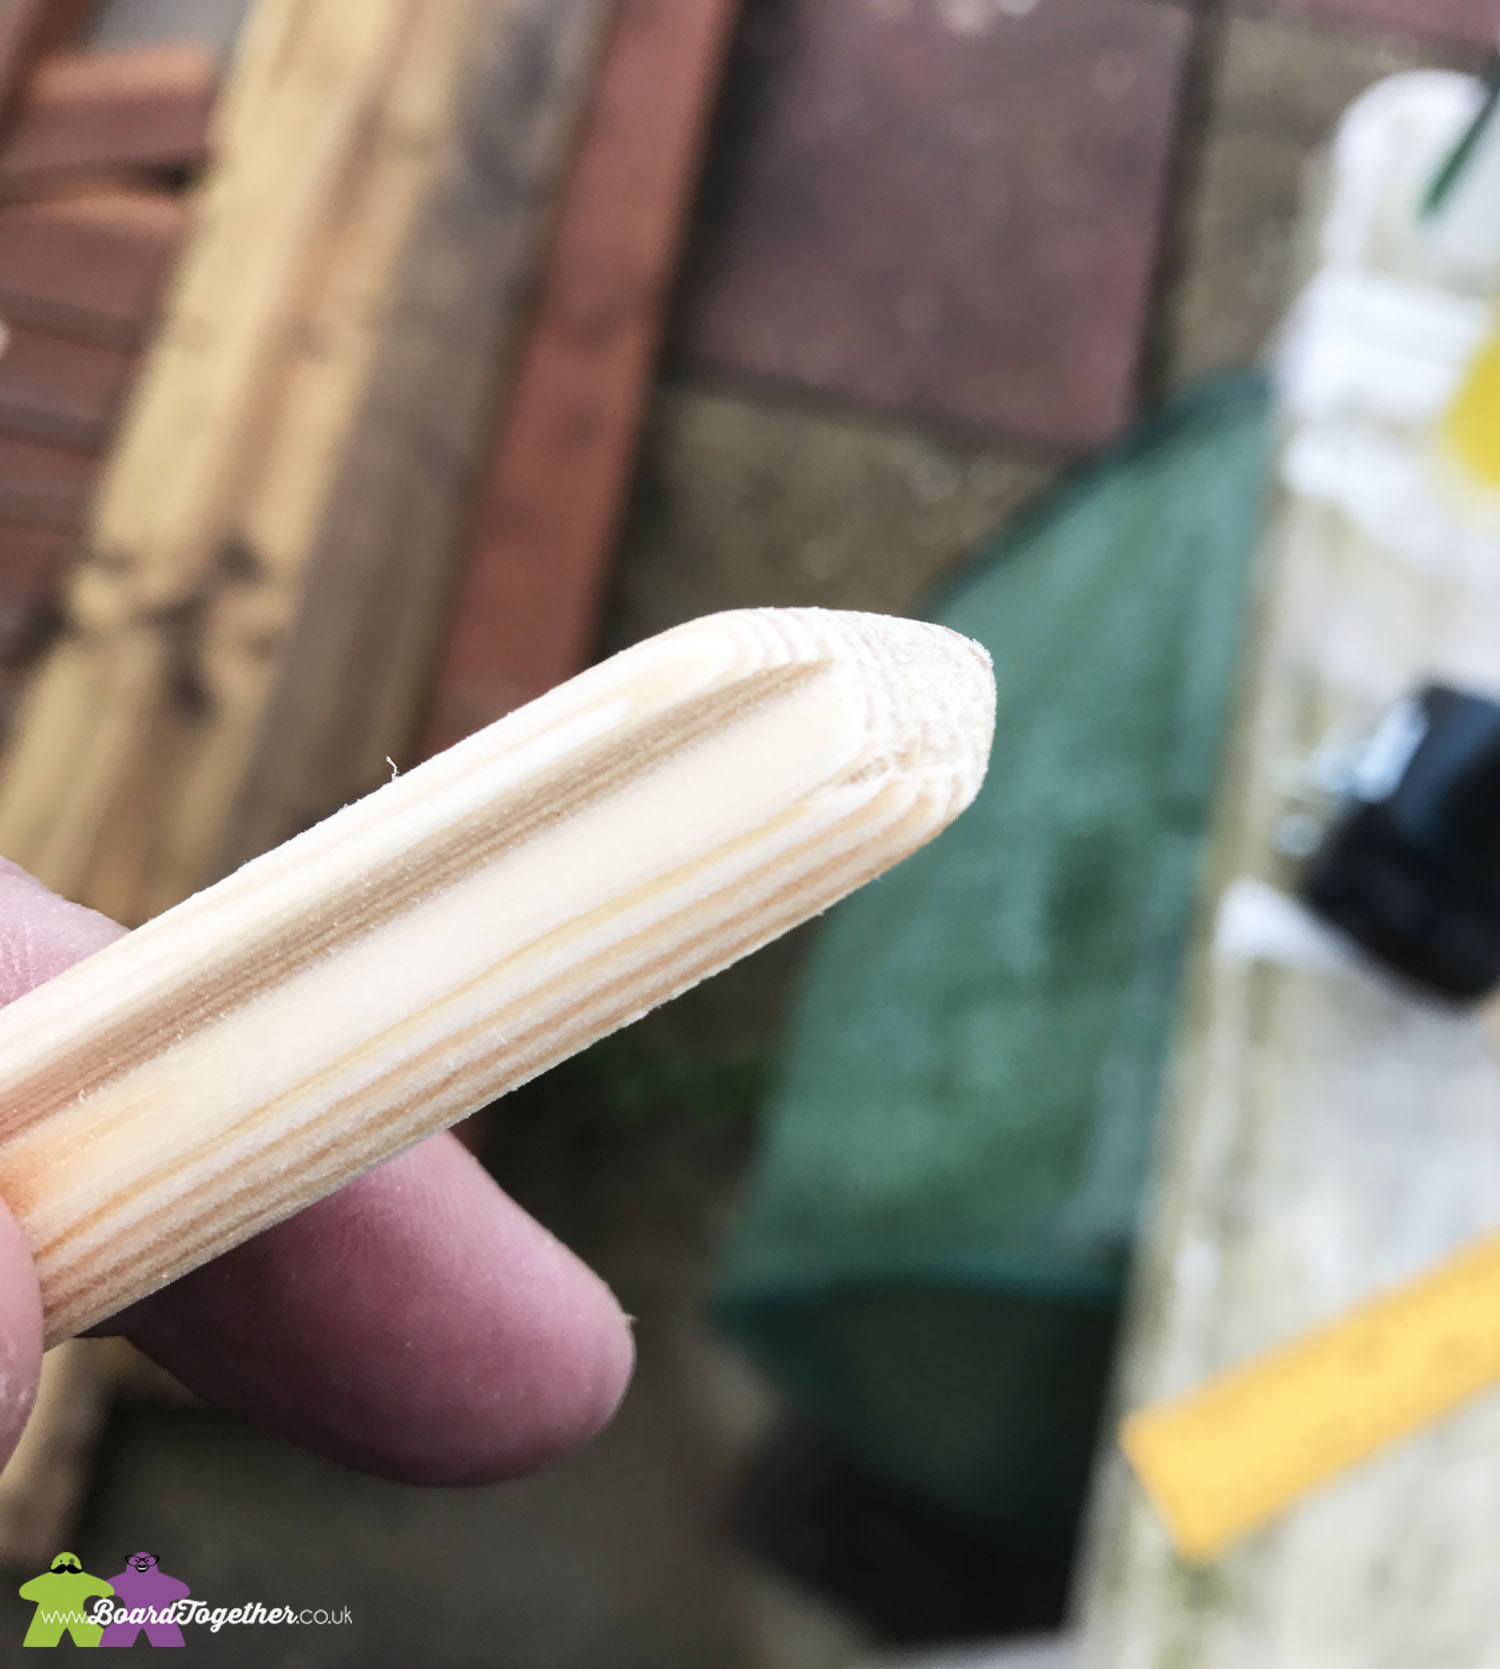
Now that you have all the bases cut to size, you want to cut 45 degree on the corners to round the edges.
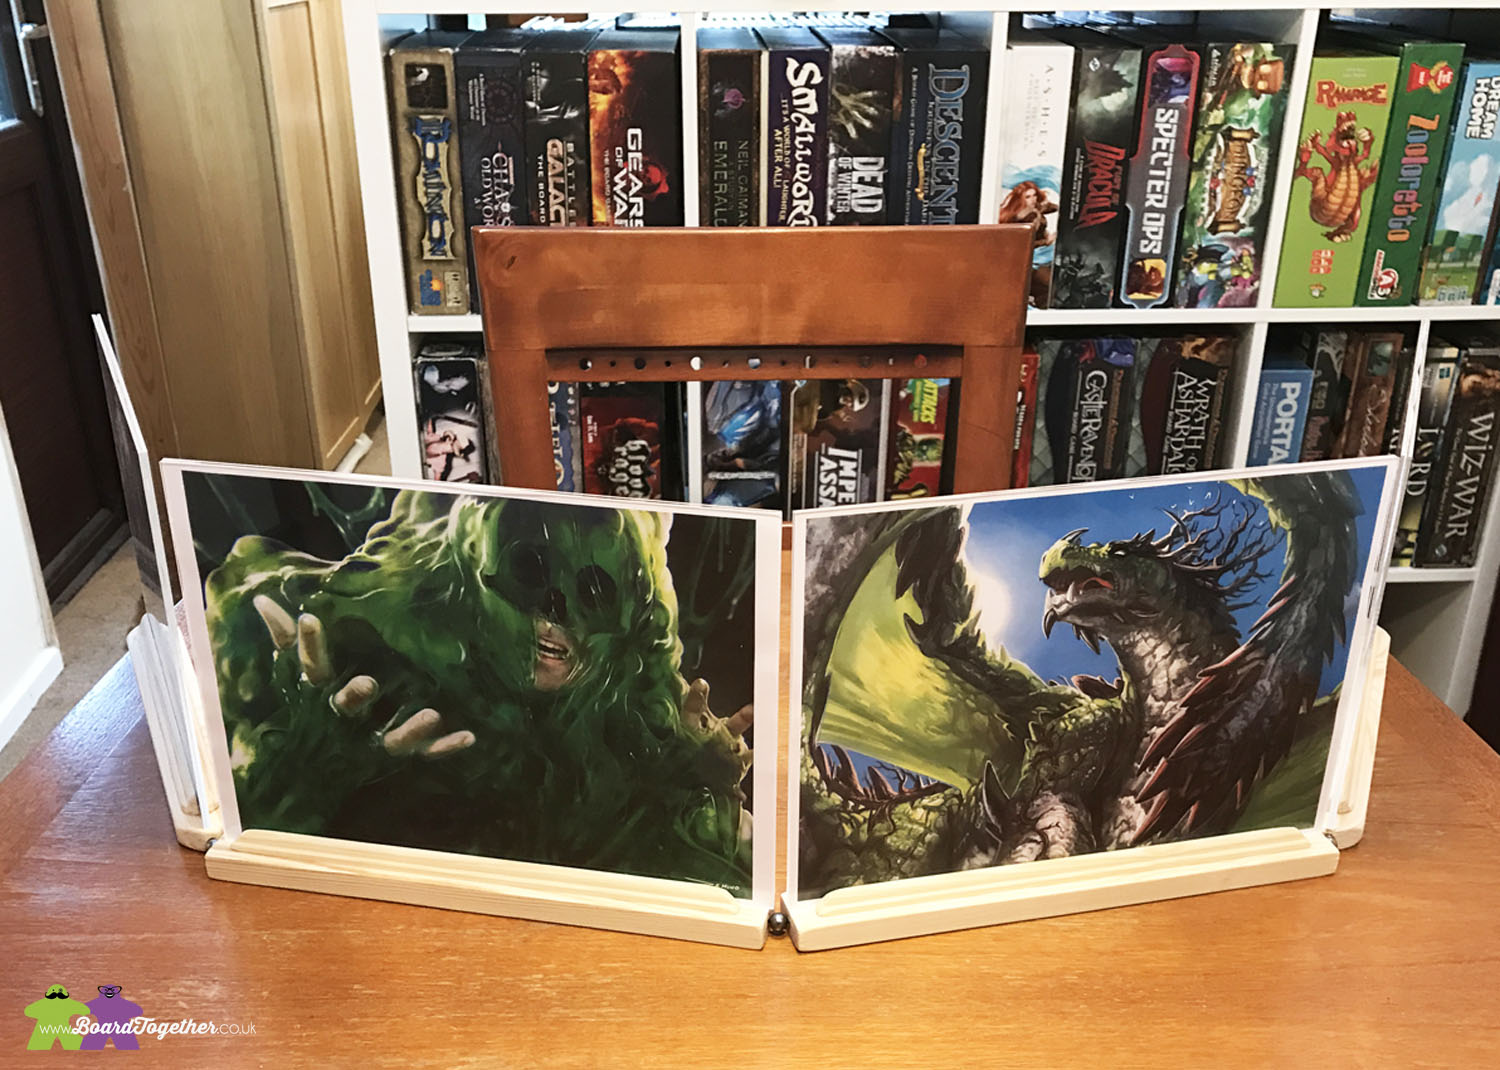
This was my mistake when making the first DM screen. Without the angles the screen does not curve enough and would not fit on the table.
As you can see below the screen hangs off both sides and would not curve enough.
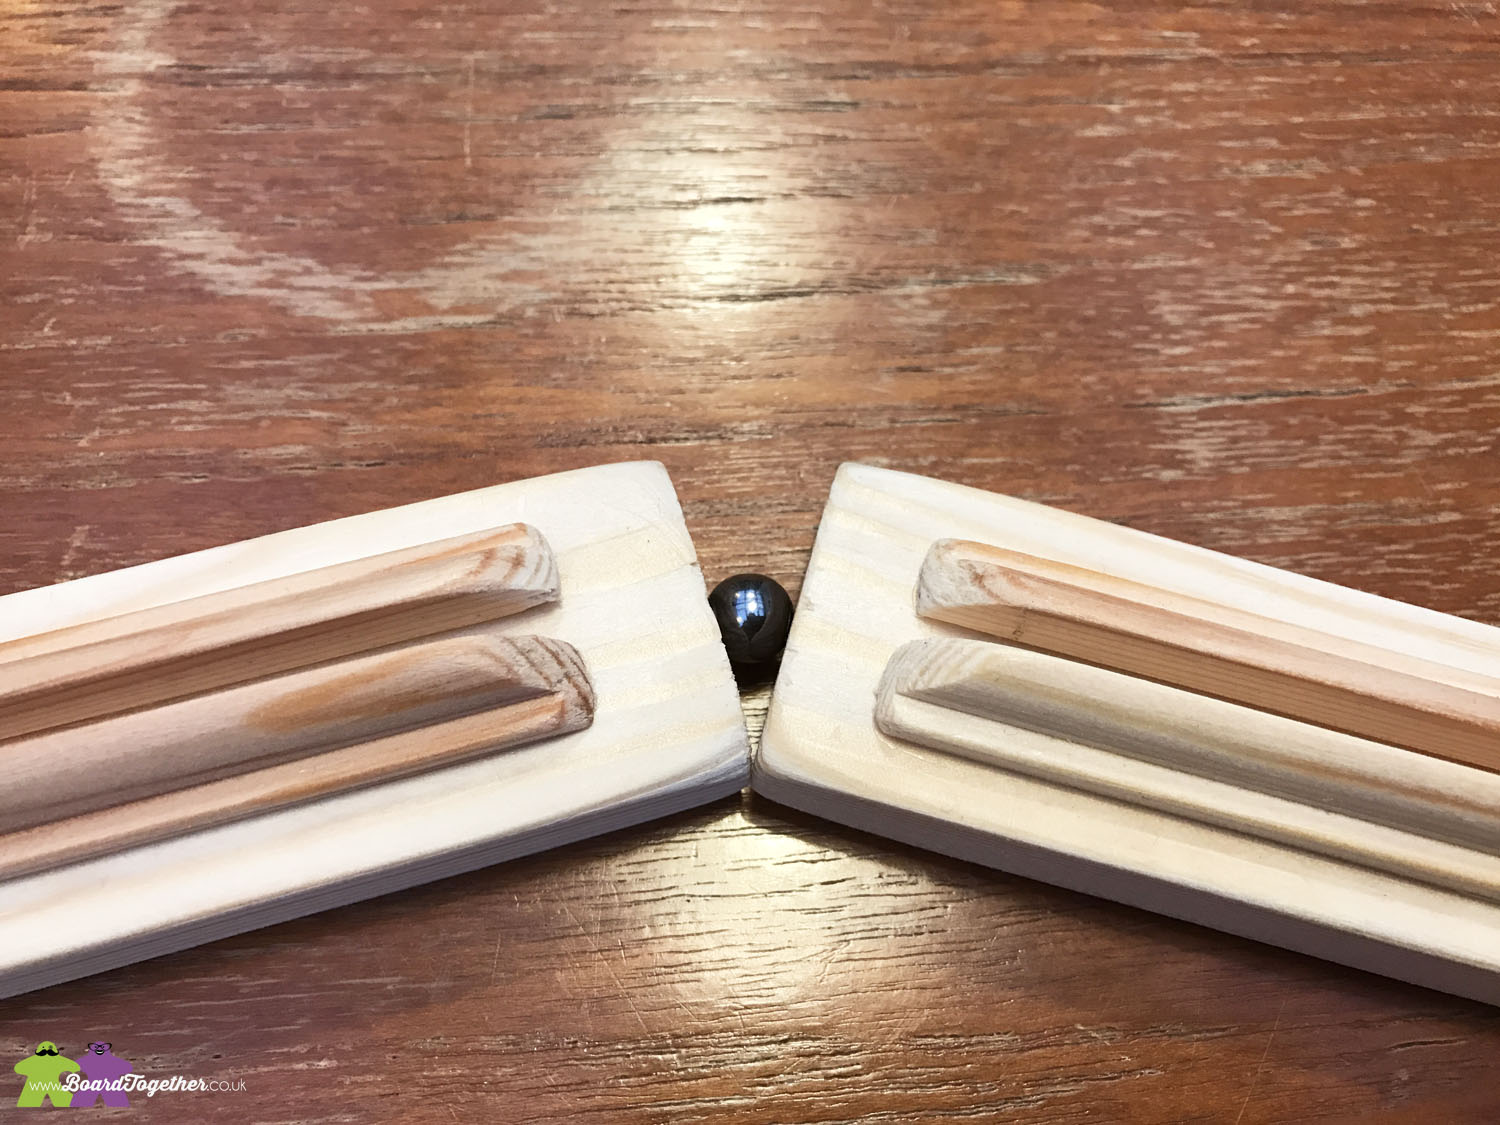
I found that if you add the rounded edges it would give you a much better angle.
The screen sides would then swing around and stay completely on the table.
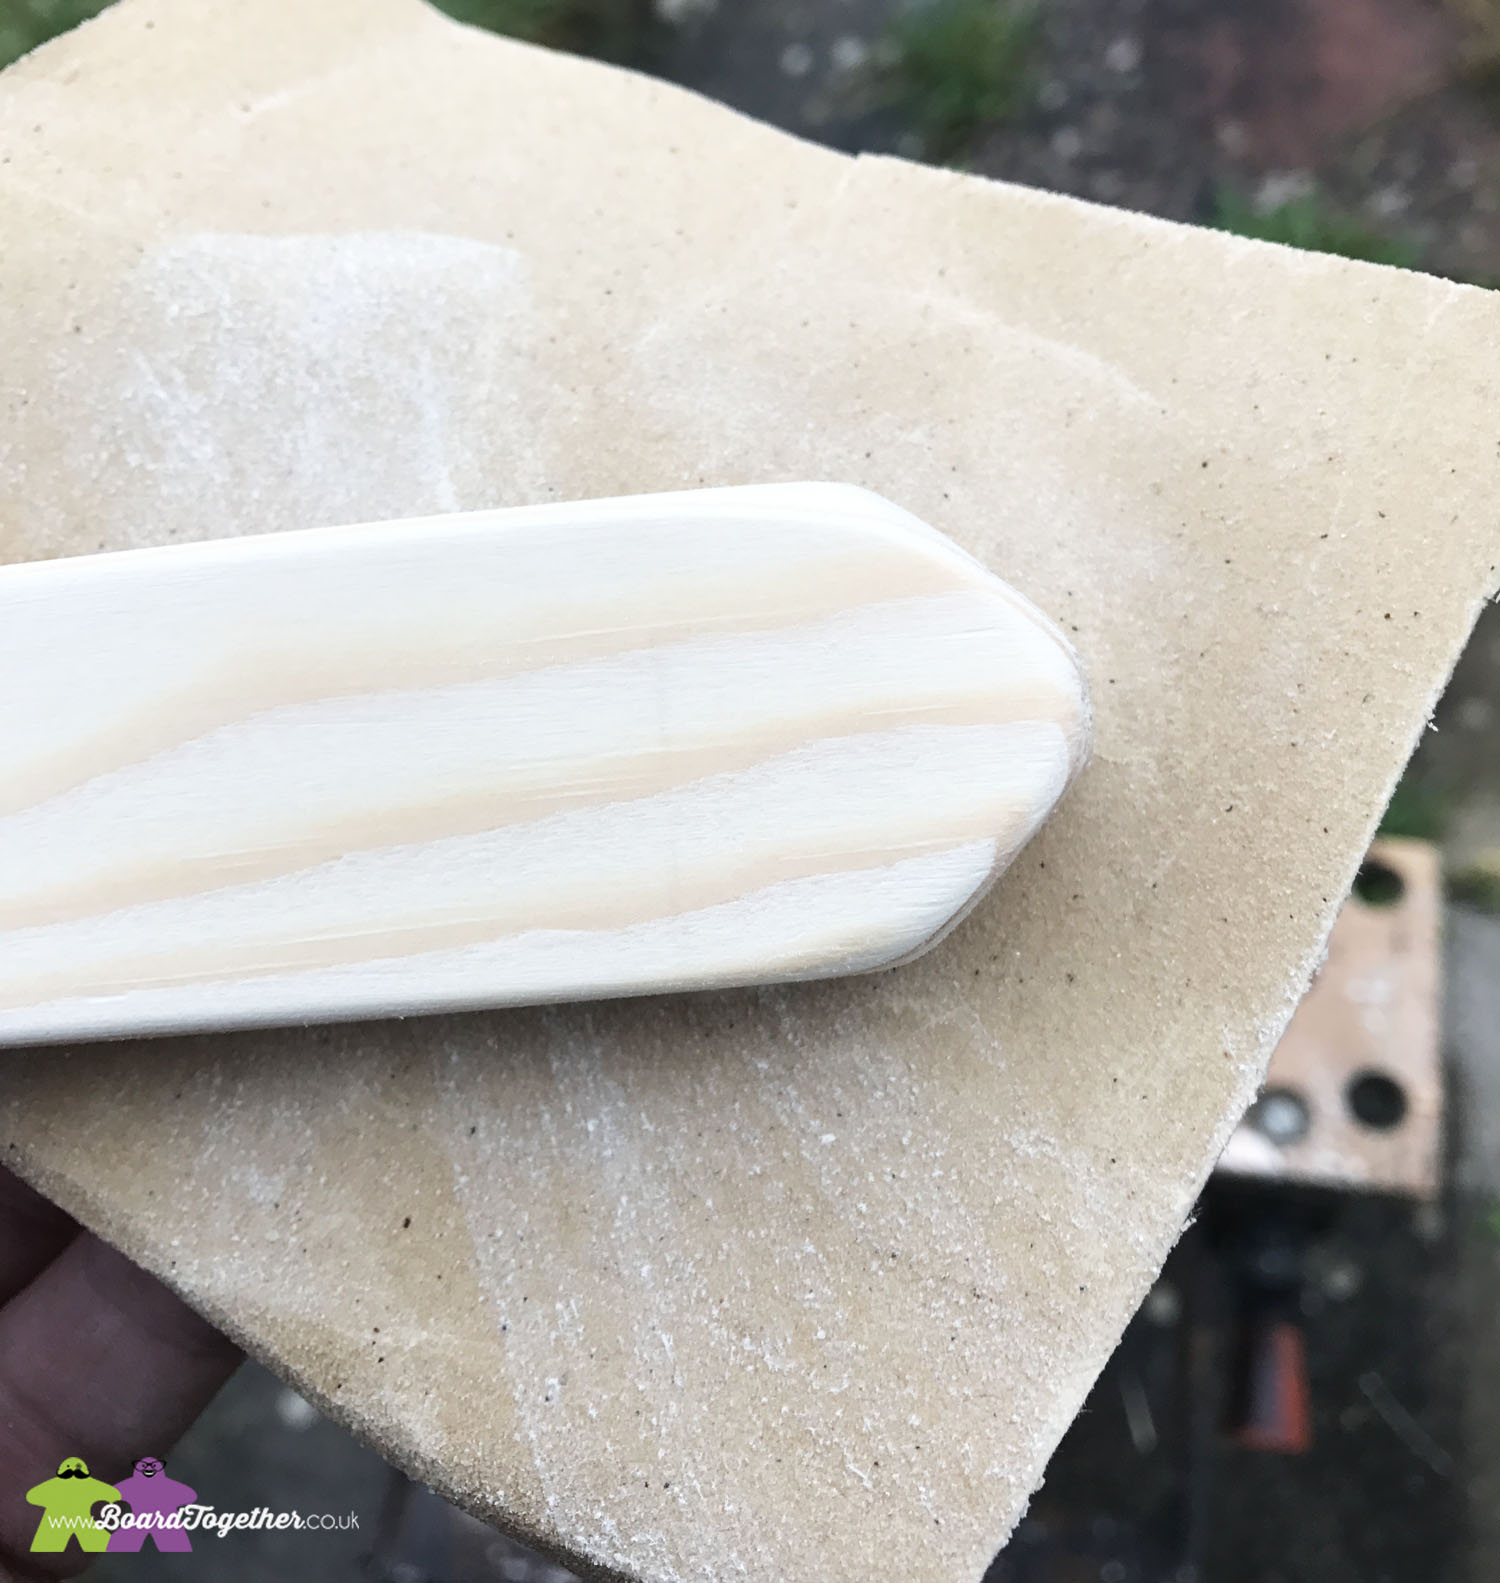
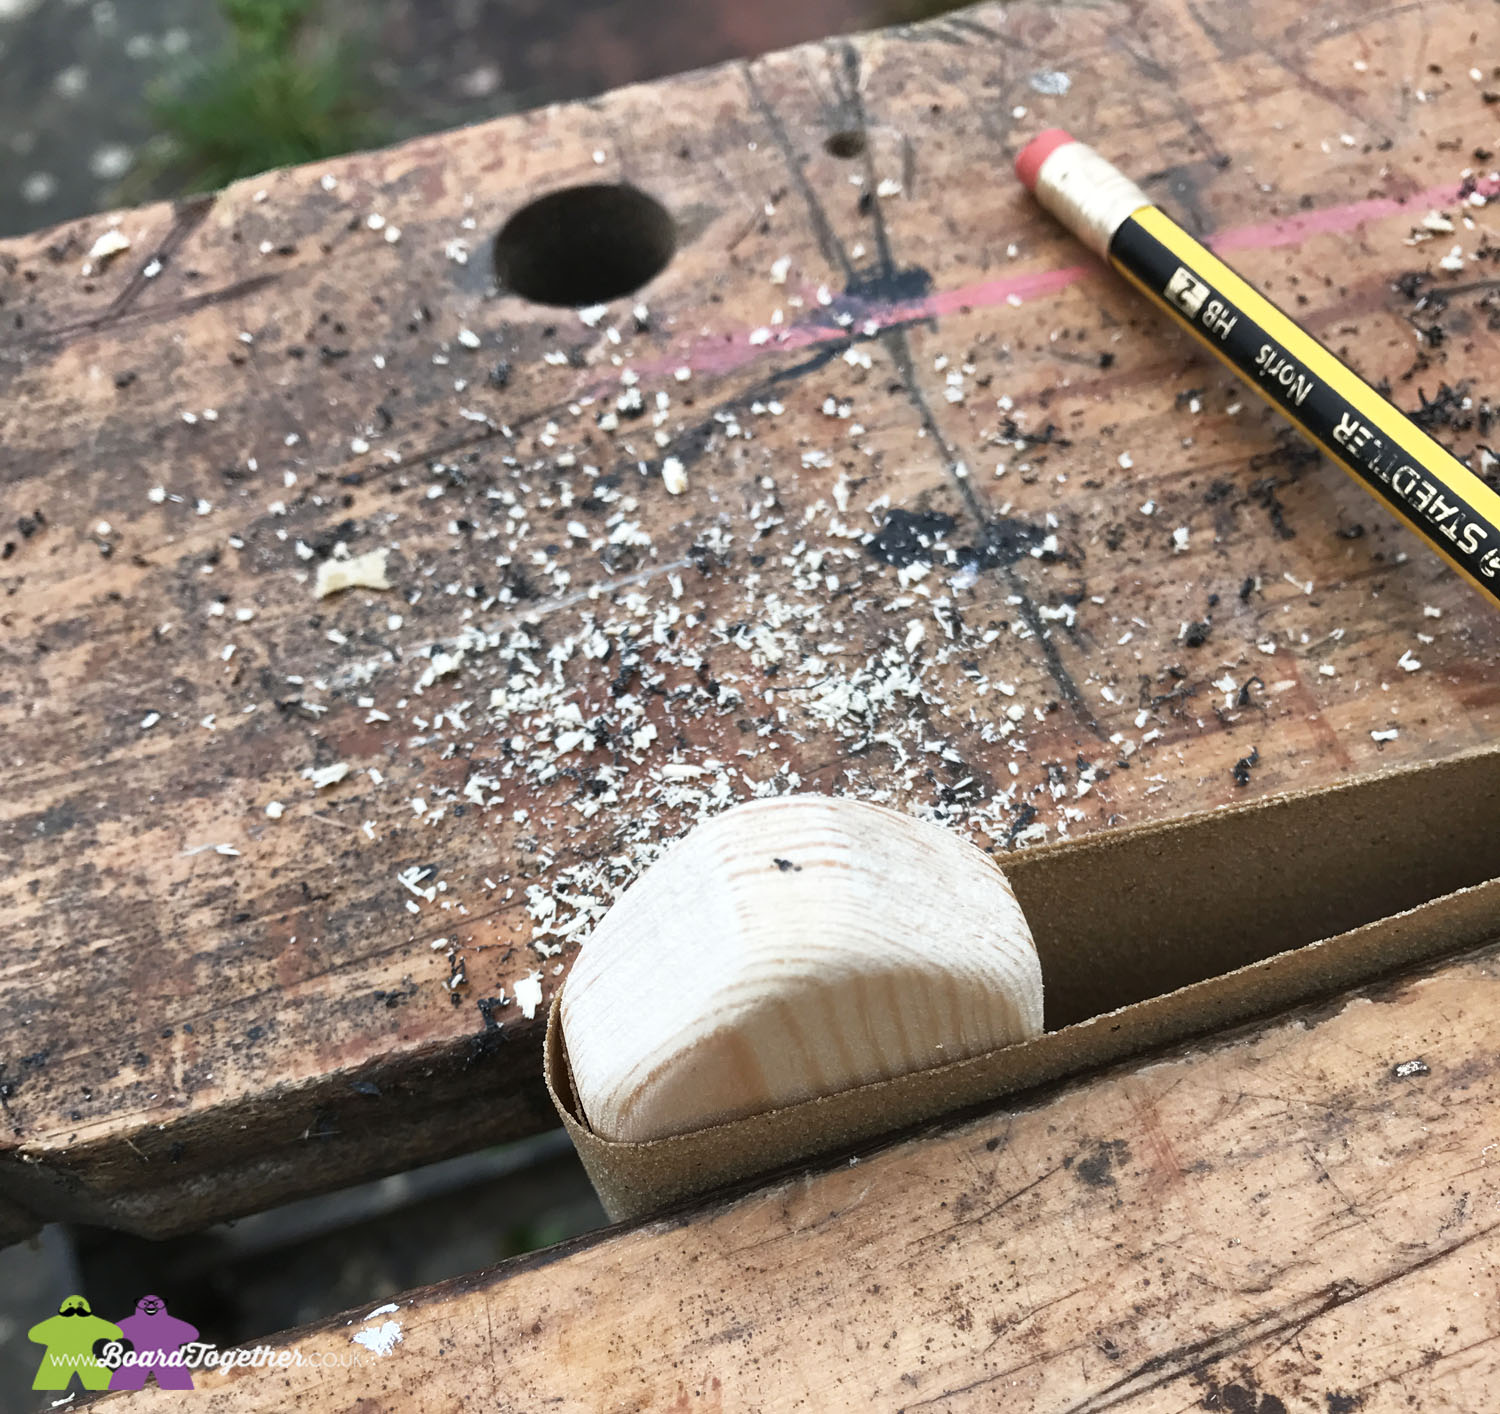
Take some fine sandpaper and give all the edges a good sanding. Make sure all the edges are nice and rounded. This makes it look a lot better but also makes it feel great when handling them. Less splinters too, which is always a bonus.
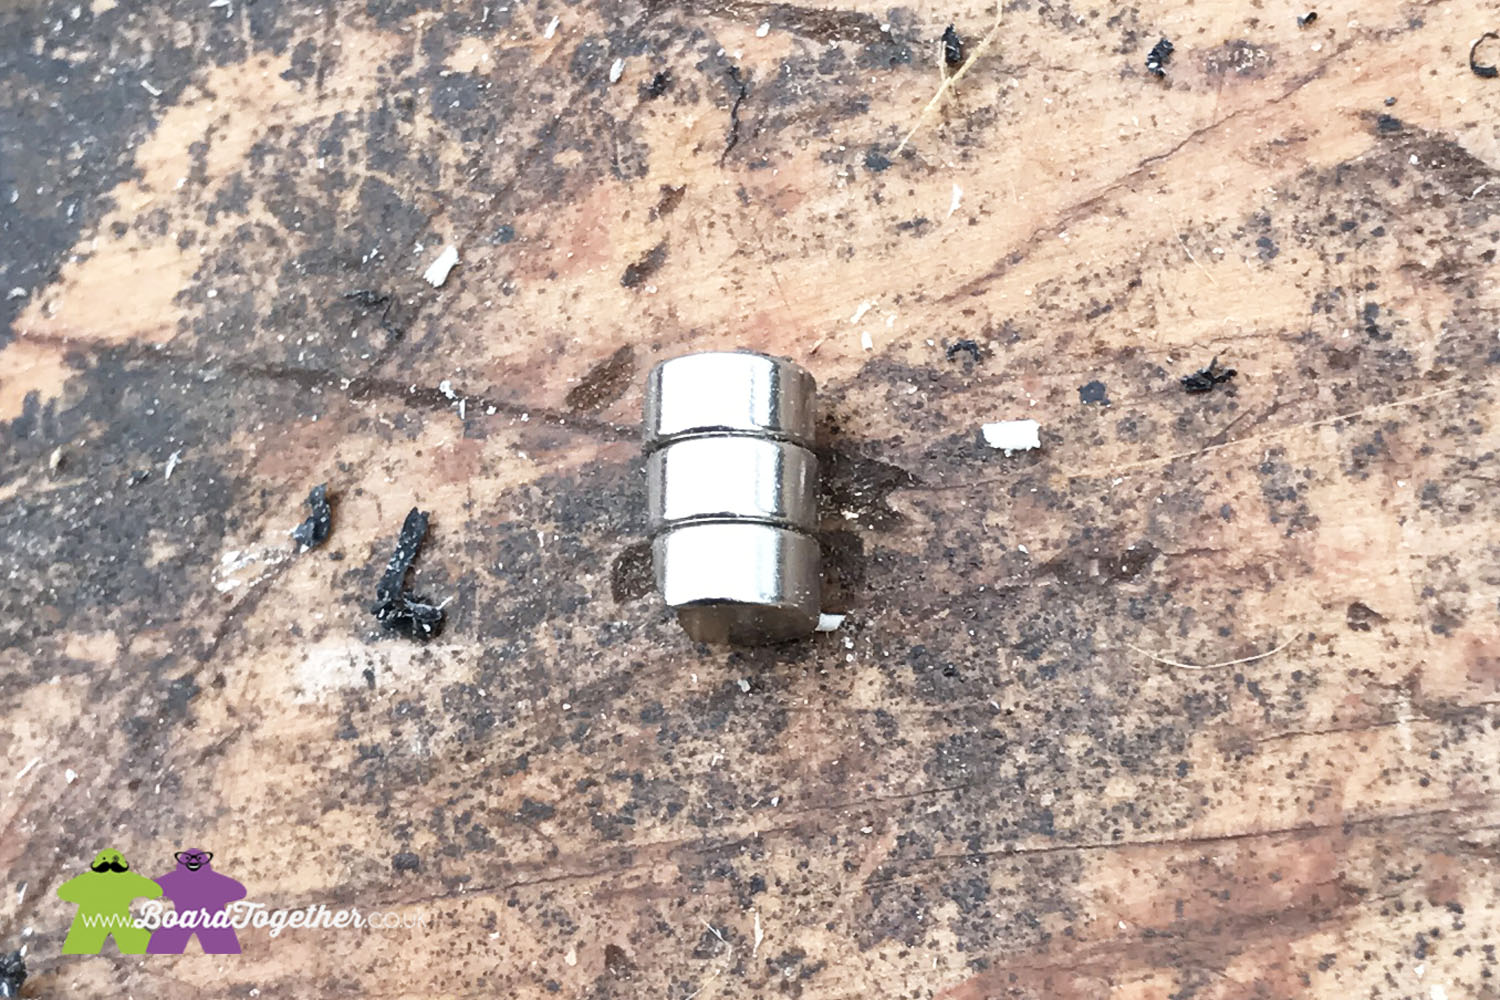
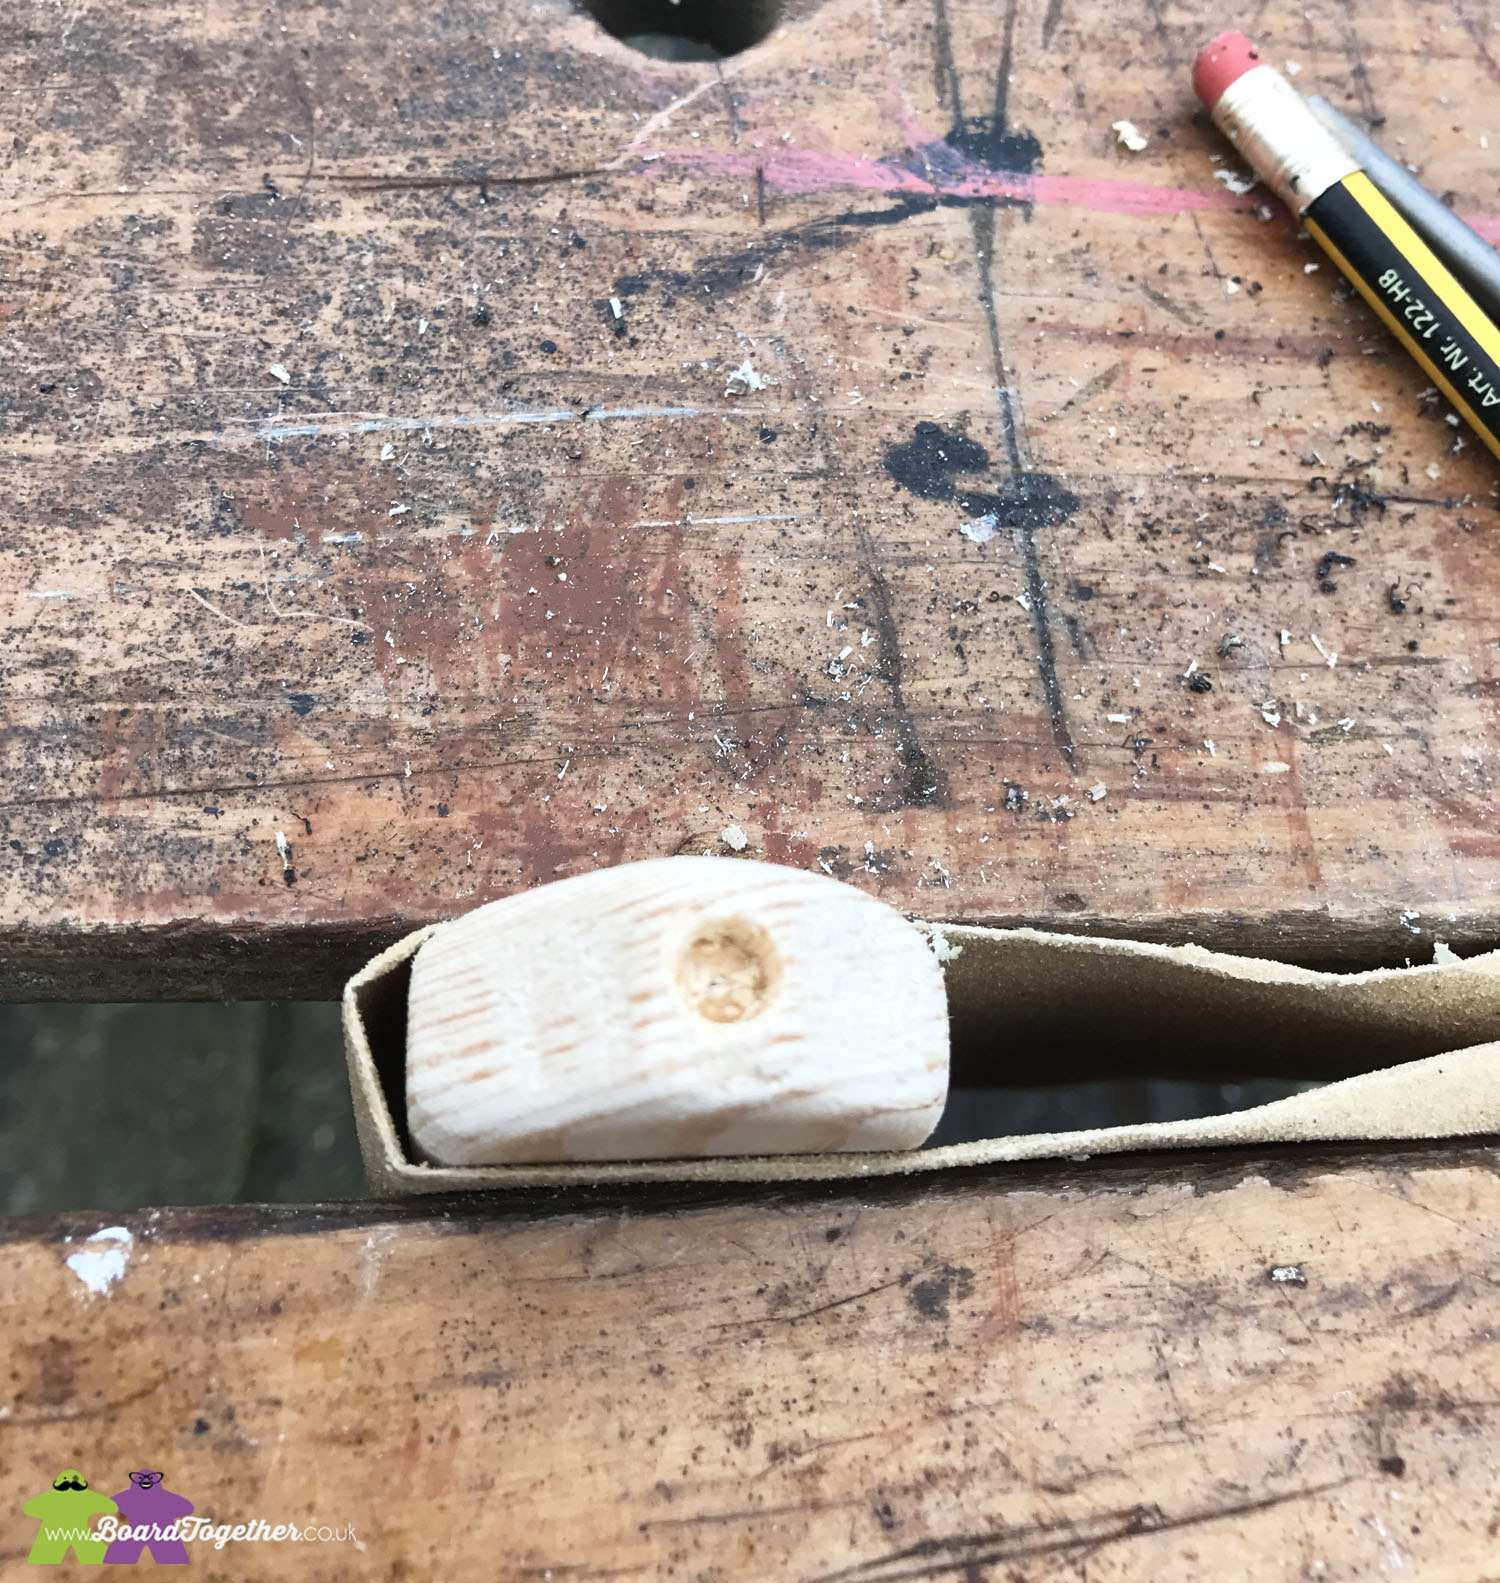
Each end of the wooden bases need to have a rare earth magnet glued into a recess. I found the best way was to clamp the base wrapped in sandpaper so it did not slip then carefully mark where you are going to drill.
Using the magnets as a reference select a drill bit size that will allow them to fit snugly into the hole you are about to drill. It would be a good idea at this point to do a few tests on a scrap piece of wood to make sure the holes are the correct size.
Now it is time to drill these holes. BE VERY CAREFUL WHEN DRILLING THESE HOLES. The drill bit did have a tendency to wander and make oblongs instead of perfect holes so be careful.
Making the trims
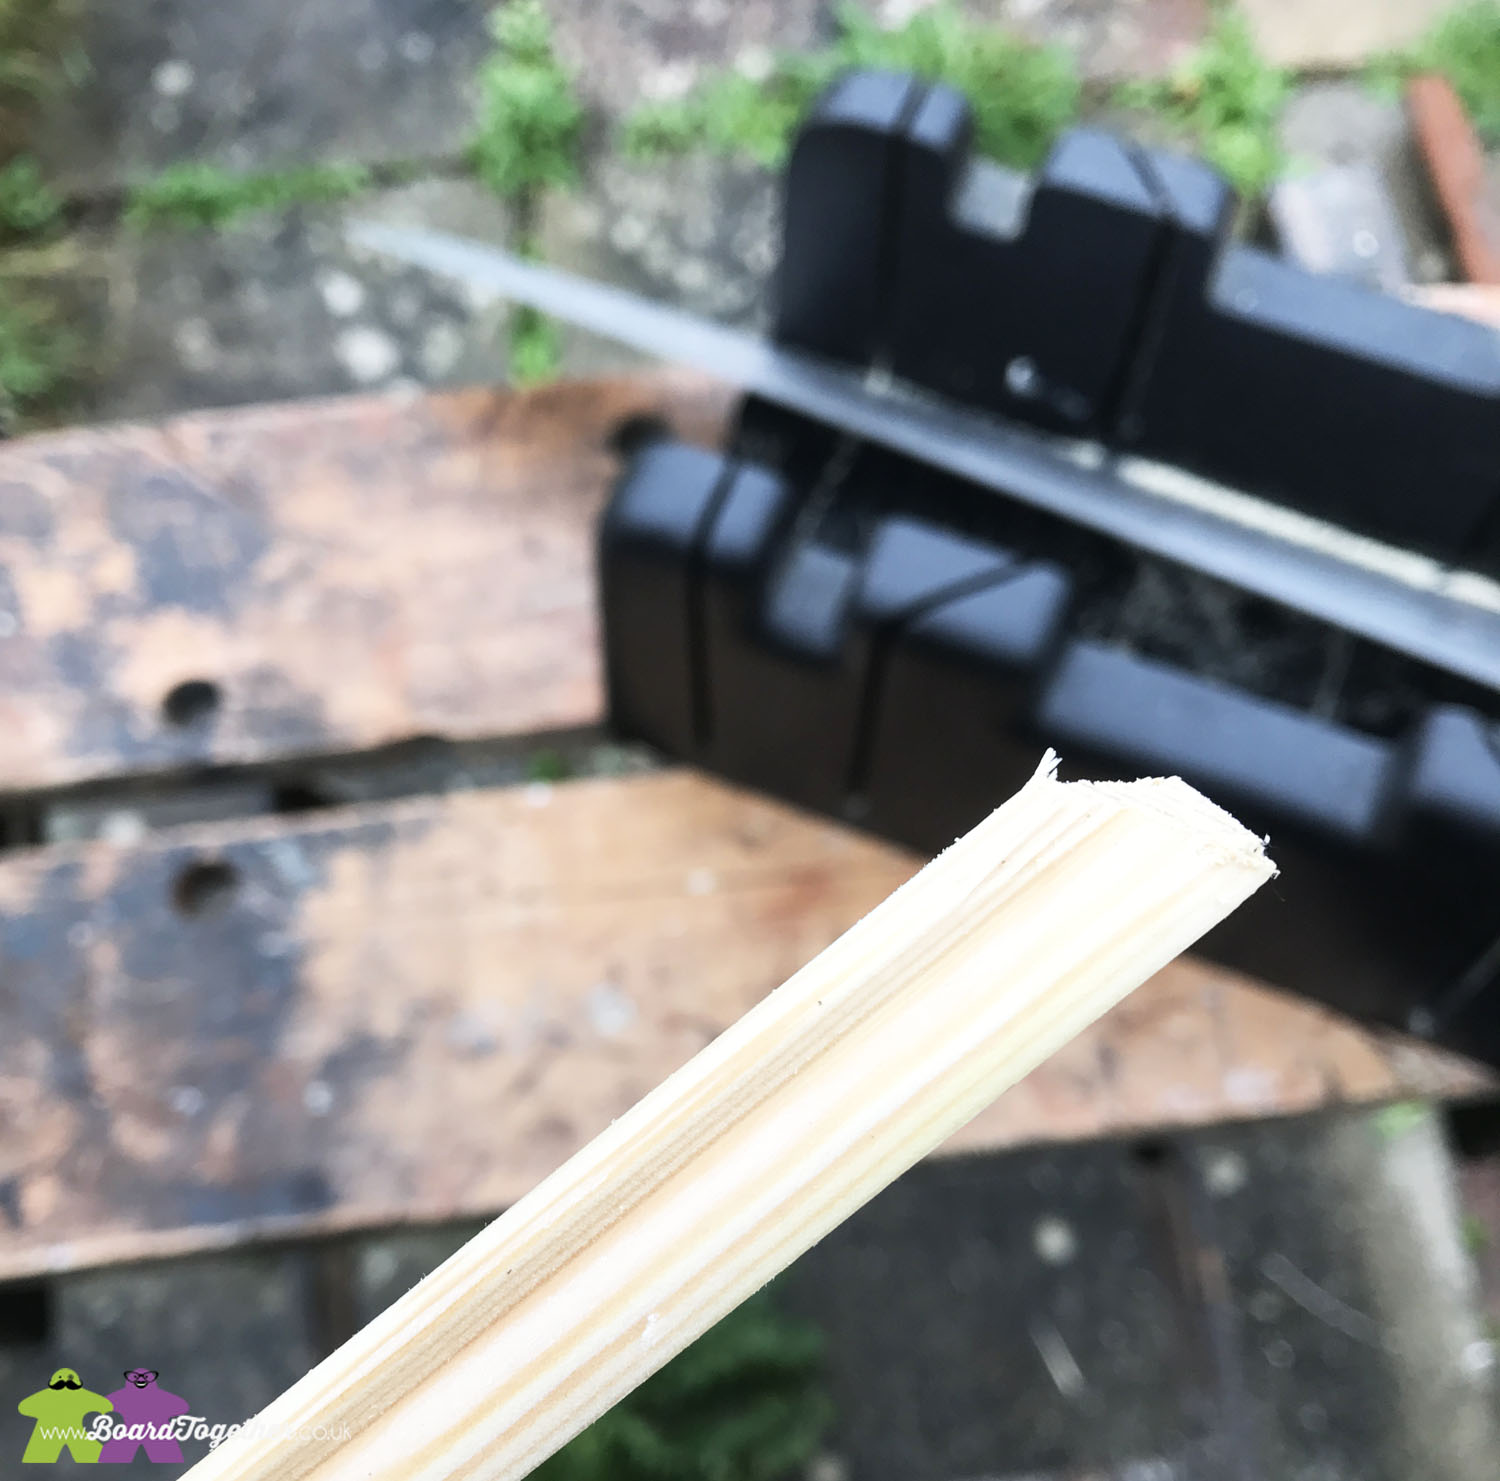
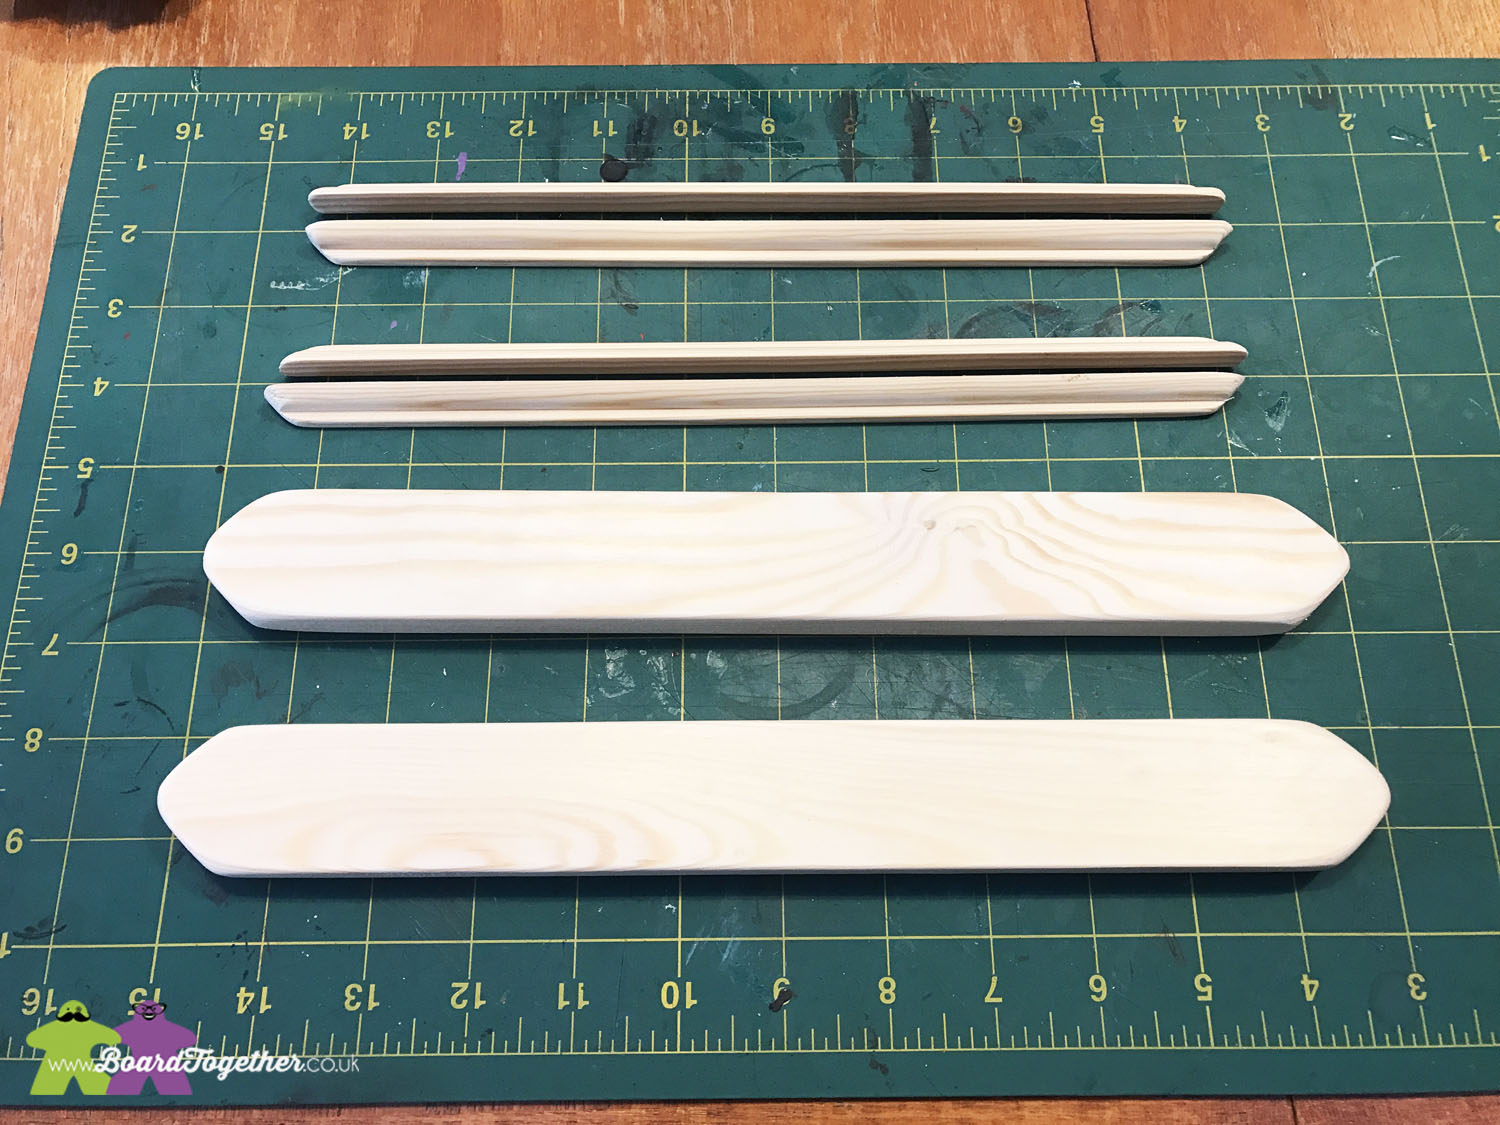
Now the bases are done, time to move on to the trim. I chose a trim that was quite thick and would be able to hold the panel up while looking good. These trims do not have to be as long as the bases and should be about 2 CM shorter. Measure this out but we are going to make them angled, so currently at a 45 degree angle. You will require two of these for each panel.
Cut all the trims and then give them a good going over with the sand paper.
Now you are ready for the assembly. In Part 2 we will go through the steps needed to put it all together.
For more information check out:
More RPG – DriveThruRPG // Rare Earth Magnets – Wikipedia
Our blog posts include affiliate links to Amazon, who share a small amount of revenue with us if you buy something through one of these links, which helps support us. We will always recommend the boardgames and products we enjoy playing and using — and of course you’re encouraged to use whatever retailer you prefer.
a

[…] Making Your Own GM Screen Part 1 […]